Alexa has been a consistently reliable and featured star among all other Amazon's latest streaming devices. But, what makes it upset is the process to setup and use the Amazon Fire TV Cube. With the help of this guide, you can set it up and make the most of the assistant.
Before a user begins to use the Amazon Fire TV Cube, they should be happy about its purchase. Don't you agree? Well, congratulations to those who had purchased a Fire TV Cube and looking forward to its application.
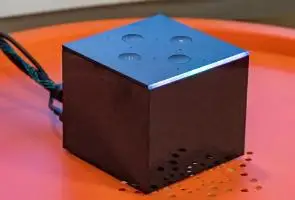
Undoubtedly, this Amazon's latest streaming device brings us the ultimate experience we all desire. Costing more than the Fire Stick and Fire TV, this little box gives the flexibility to allow Alexa for controlling your TV and cable box, and stream video in gorgeous 4K HDR.
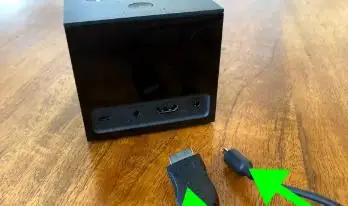
Step 1. Firstly, plug in the right HDMI and power cables at the backside of the Fire TV Cube. Make sure that the cables are properly connected.
Step 2. Secondly, press the Fast Forward button on your remote control.

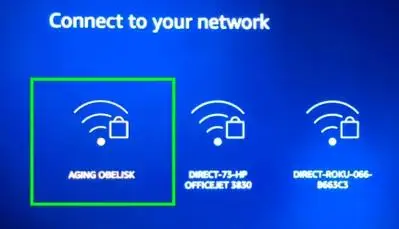
Step 3. Next, in order to use the Amazon Fire TV Cube, select the available Wi-Fi network.
Step 4. Once the wifi network is selected, you have to enter your password and then click Connect. Optionally, you can enable the Show Password option while typing the password into the field.
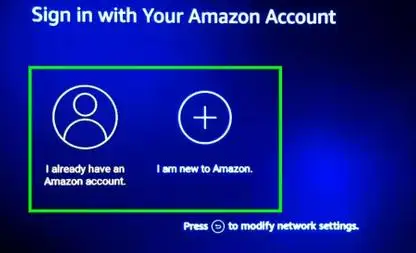
Step 5. Now, you can easily log in or create a new account by setting a new user name (you can enter your own as desired).
Step 6. Subsequently, you have to enter the corresponding Amazon account password and then click the Sign In button. You can click on the Show Password option for checking the password as you are typing in.
Step 7. Next, click the Continue button to proceed with your account and use the Amazon Fire TV Cube.
Step 8. Select Yes or No based on whether you want to save the entered password on the device with Amazon account.
Step 9. Next, check out the parental controls to allow users. You can enable or disable the parental controls depending on the service usage among your kids. If you enable these controls, it will require a PIN each time to stream and access the content from Amazon video.
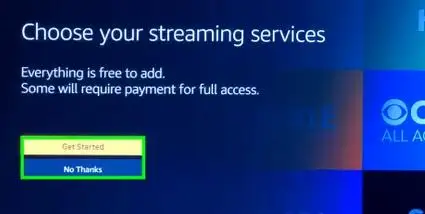
Step 10. Next, select Get Started option if you want to walk through Amazon app download or click No Thanks to skip the rest.
Step 11. Pick out the desired popular services of your choice and then click right to TV channels.
Step 12. Choose all the TV channel apps you want to view and then right click to sports apps.
Step 13. Next, pick the required sports apps you want, and then click right to the featured apps.
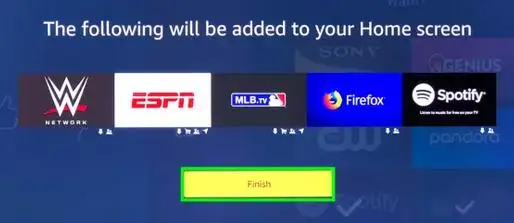
Step 14. Thereafter, select the featured services of your choice and then click Play to proceed button.
Step 15. Finally, click Finish following which all the opted services and channels will be added to the Home screen of your Amazon Fire TV account.
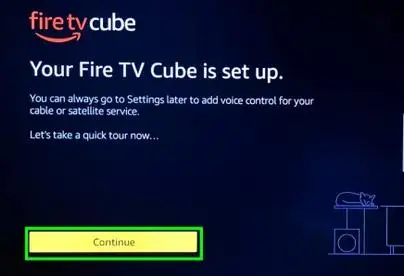
Step 16. Next, click on the Continue button.
Step 17. Choose the appropriate option that fits your setup, and follow the onscreen instructions that differ based on your choice.
Step 18. Now, click the Next button.
Step 19. Once the TV turns off, press Fast Forward on your remote.
Step 20. Click on the Next option.
Step 21. Click Continue so that a video plays guiding you through basic instructions.
Step 22. Here, you can opt in or out of the Prime service.
So, finally, you have completed the setup of your Fire TV Cube.
Note: For achieving optimal performance, position your Fire TV about 2 feet from your TV or any speakers.
Step 23: For ensuring bandwidth for 4K content, you'll have to plug a hardwired ethernet cable into the Fire TV Cube's Ethernet adapter. Consequently, this expands storage.
Step 24. Therefore, you can now plug your Ethernet adapter into the MicroUSB port of the Fire TV Cube.
Hope the complete step by step instructions have helped you to use the Amazon Fire TV Cube effectively.
 Related Blogs
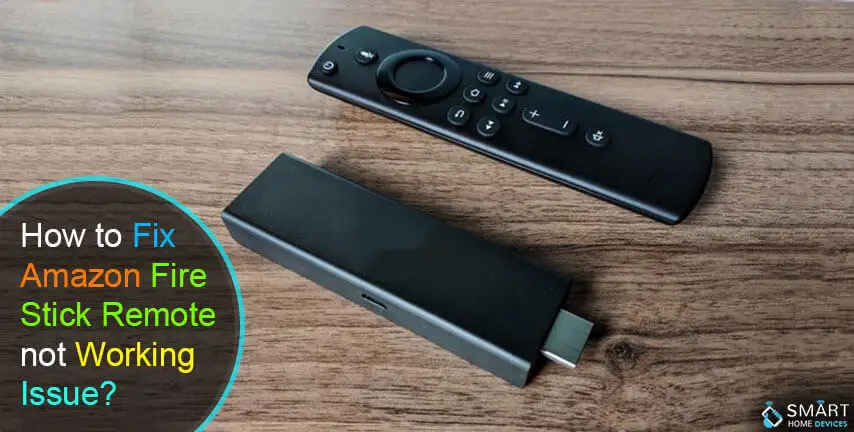
How to Connect Alexa With FireStick?
How to Reset a Amazon Fire Stick?
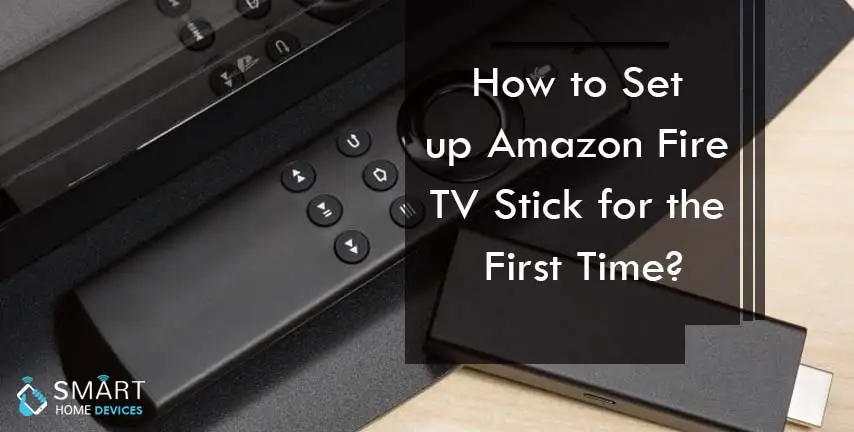
How to Use the Amazon Fire TV Stick?
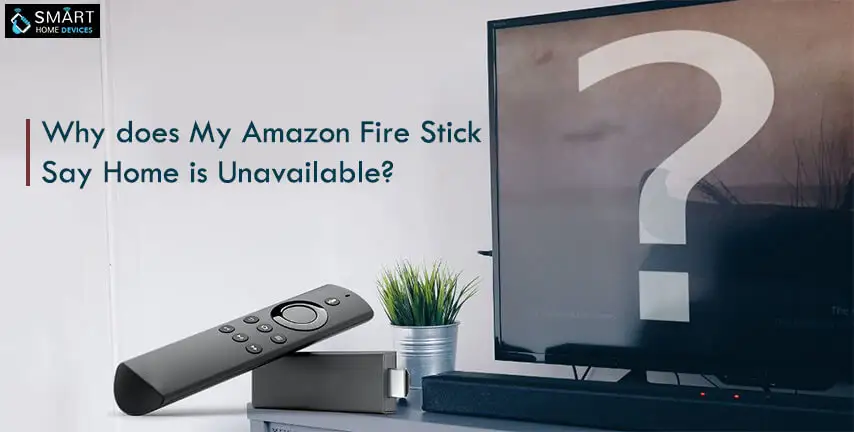
Why is My Fire Stick Disconnecting From WiFi?
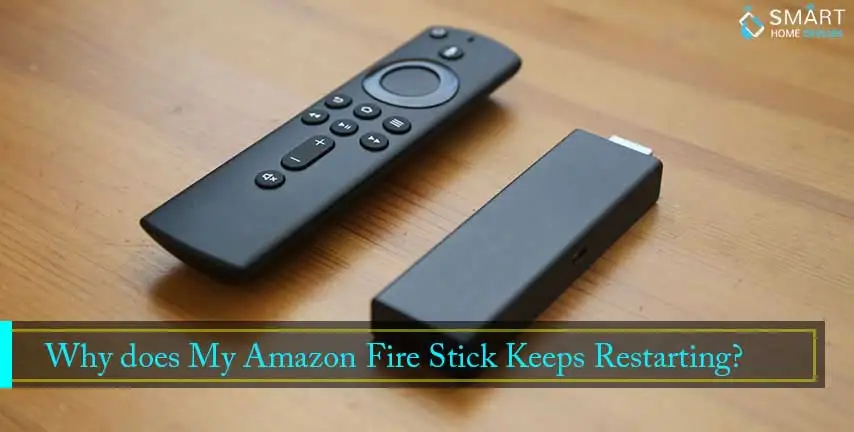
Why does My Amazon Fire Stick Keeps Restarting?
© 2026 SmartDevicesHelp.com. All Rights Reserved.
Top Searches in amazon fire stick