TV-viewing has completely revolutionized since the emergence of video streaming services such as Amazon Prime, Hostar, Netflix, Hulu, etc. Video streaming services aren’t only amazing in terms of content delivered but they also offer a variety of choices to the viewers. People can watch documentaries, TV shows, and movies out of the million choices available.
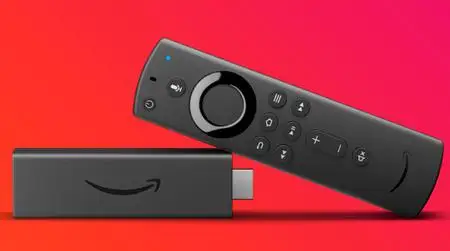
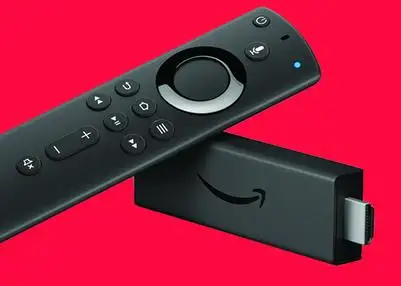
Amazon Fire TV Stick is the new entry made to the video streaming segment. It offers a variety of services to users such as Gaana, Netflix, Hotstar, Amazon Prime video, etc. The best thing about Fire Stick remote is that it comes with Alexa. It means you can just sit back on your bed and control everything by giving voice commands. Isn’t that just incredible?
If you recently bought Amazon Fire TV Stick and you don’t know how to set up Amazon Fire TV Stick for first time, then take a look at the set up instructions given below.
Read out the steps below to know how to set up the Amazon Fire TV Stick.
Step 1: Take out your Fire Stick device from the box. There you will see an HDMI and micro-USB port. Now, take a USB wire and connect its one end to the power adapter and the other end to micro USB port of your Amazon Fire TV Stick.
Step 2: Now, connect the power adapter to an electrical outlet.
Step 3: Now, connect firestick to HDMI port on your TV. Note the port number as you will have to open the same HDMI input channel on your TV.
Step 4: Turn on your TV and launch the HDMI input channel. Once you do that, the Fire TV Stick logo will appear on the screen.
Step 5: The next thing that you are required to do is to set up your Fire Stick remote. Take out AAA batteries from the box and insert them in your remote. After that, your remote will automatically get paired to the Fire Stick.
Nevertheless, if the automatic pairing doesn’t happen, then press the Home button on your Fire Stick remote and keep on holding it for the next 10 seconds. By doing so, your Fire Stick will go into Discovery Mode and the remote will get paired to the Fire Stick. After you are done with the pairing, press the Play/Pause button to begin with the set-up process.
Step 6: In the next step, you will be asked to select the language of your choice. Use the navigation keys on your Fire Stick remote and highlight your preferred language and then press on the OK button for setting the language.
Step 7: Now, in the next step, we will connect Fire Stick to the wireless network. The Fire Stick will start searching for the available wireless networks. After that, a list of networks will be displayed in front of you. Select your network and enter the password.
Step 8: After connecting Fire Stick to Wi-Fi, you need to register your Fire TV Stick device to Amazon account. In case you have ordered your FireStick from Amazon, then it will get registered on its own.
Nonetheless, if you want to register Fire TV using another Amazon account, then follow the instructions appearing on your screen and register your Fire Stick. In case the pre registration is done, then you will see a window with two options. If you are an existing user of Amazon, then go with option number one. If not, then go to create a new account.
Step 9: Your Fire Stick will get registered.
Step 10: Once you are done with the registration, the Amazon Fire TV Stick will ask if you want to save the password of your wireless network to your Amazon account.
 Related Blogs
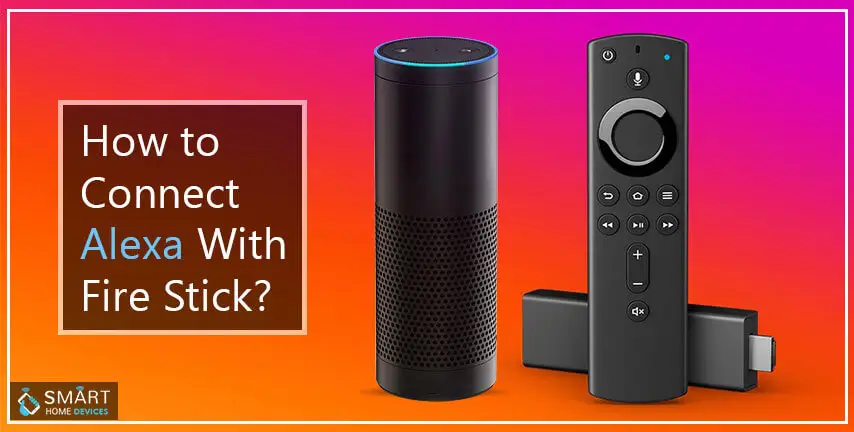
How to Connect Alexa With FireStick?
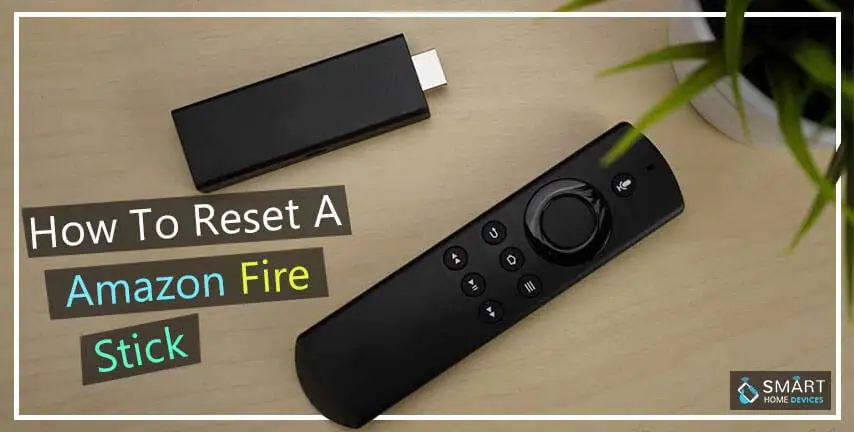
How to Reset a Amazon Fire Stick?
How to Use the Amazon Fire TV Stick?
Why is My Fire Stick Disconnecting From WiFi?
Why does My Amazon Fire Stick Keeps Restarting?
© 2026 SmartDevicesHelp.com. All Rights Reserved.
Top Searches in amazon fire stick