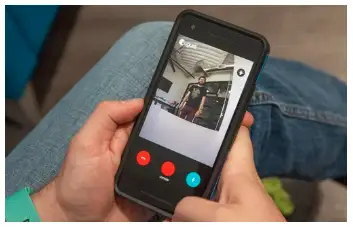
August doorbell cam pro is a hard wired doorbell which allows users to answer the person at their door from anywhere in the world. It has updated from 1st gen to 3rd gen in the August doorbell cam pro series.
This product has been used worldwide and is prominent among its class due to its supreme and surpassing features such as real time alert, HD video recording & two way audio system which makes it easier to conversate with the person standing on your door.
You need to sync it with your phone and then access and talk to the persons at your door from your mobile phone. In our content, We will follow the installation process of August doorbell 2nd gen cam pro.
Wireless Connection - Your wireless networks should be 15-20 ft from the gate.
Installation Surface - Surfaces like brick, concrete, cement siding and stucco should be avoided in order to avoid any kind of obstruction.
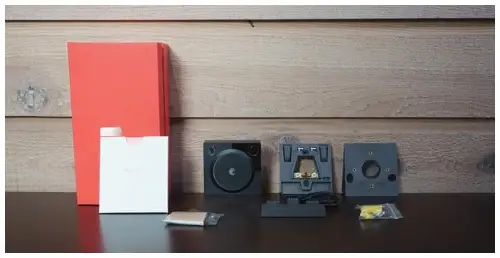
Usb Setup Dock - Plug one end of the included USB cable into the Setup Dock, and the other end into a power source such as a computer or smartphone charger. Place your August Doorbell Cam Pro onto the dock and press the Reset button on the back. to power it on.
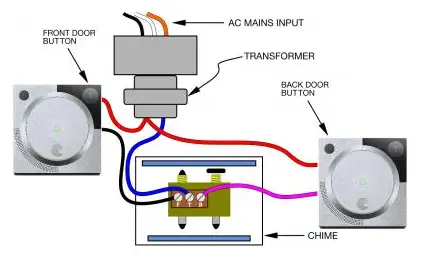
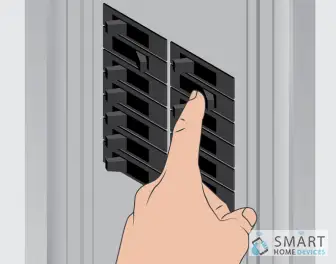
Testing the Existing Doorbell - Press your doorbell to double check that your existing doorbell is working.
Power off the Mains - Turn off the circuit breaker or fuse which is connected to the main doorbell. Ensure this by pressing your existing doorbell. It should not sound this time.
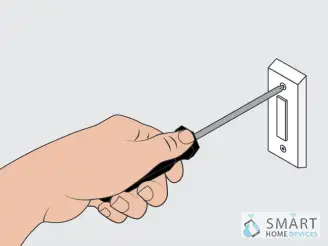
Remove Your Existing Doorbell - Loosen the screws of your existing doorbell and carefully remove it from the wall. Detach any wire coming out of your existing doorbell.
You will now be left with two wires coming out of your wall. Make sure the surface is flat for the August doorbell to be mounted on.
Mark Space for Drilling - Place your wedge straight against the wall and hold the mounting plate on the top of the wedge. Now take a marker and press it hard into the center of the two holes to mark the wall.
Drill Holes Into the Wall - Carefully with the help of a drilling machine, drill holes into the wall where you had marked the hole before.

Place the Mounting Plate on the Wall - Hold the mounting plate forcefully against the wall where you had previously drilled holes. Insert the screws in the holes of the mounting plate and tightly screw them.
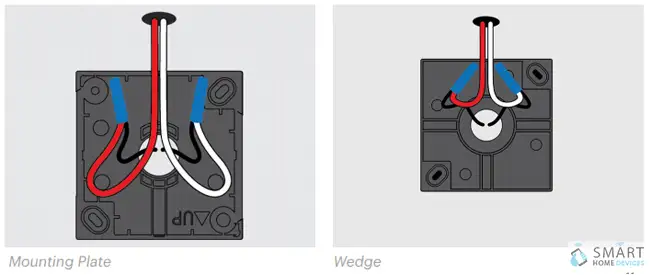
Attaching Wires to the Terminals - Loosen both the screws of your connector and place wires on them in a curve shape before tightening them.
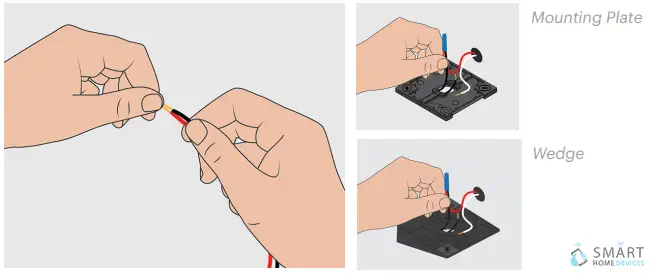
Placing the Connected Wires - Push back the connected wires into your existing doorbell until there is a very little lex in the wire.
Seal Wall with Putty - Seal the holes in the wall with the putty provided with the box. The putty is laid to protect the interior of your wall.
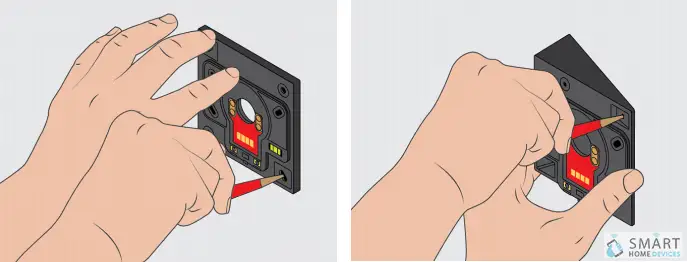
Slide Unit onto the Mounting Plate - Place the August doorbell cam on the top of mounting plate and tighten the screws and niche and bottom of the mounting plate sliding it down to its place.
Turn on the Power Mains - The power should now be restored for the August doorbell to work.
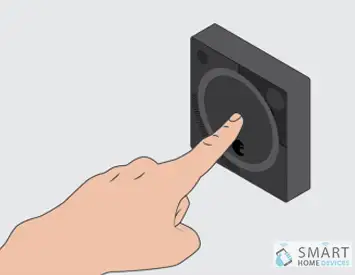
Test the August Doorbell - If everything is wired properly, the August doorbell should now be in working condition. Press the large circular button at the centre of your August doorbell, you should now be hearing the sound of your doorbell.
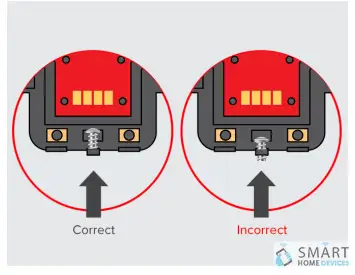
Tighten the Top of August Doorbell Screws - If you want to provide more security to your doorbell, you can also tighten the top screws on the doorbell. Rotate the screws in clockwise direction until they are completely tightened.
You have now successfully completed the August doorbell installation process. We hope our contents helps in the best of ways. Kindly revert back if you have any further queries.
 Related Blogs
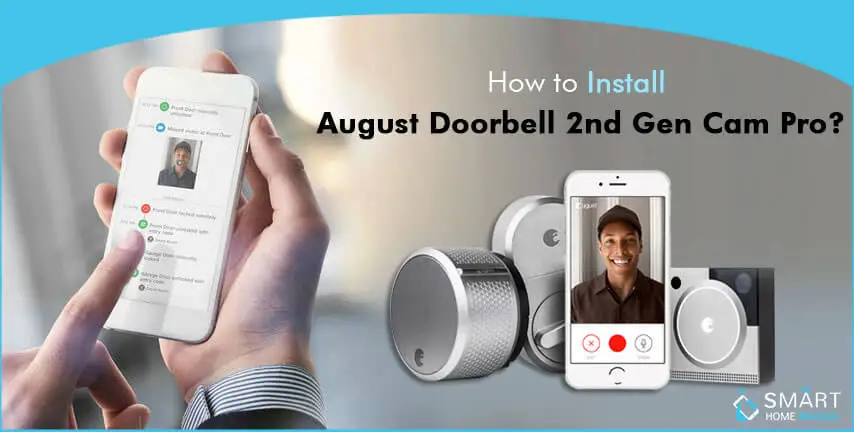
How to Install August Doorbell 2nd Gen Cam Pro?
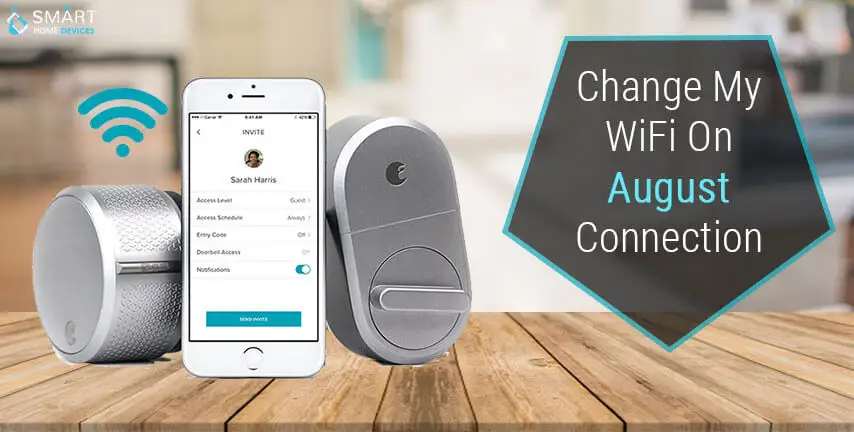
How to Change WiFi on August Connection?
How Do I Factory Default My August Smart Lock Pro?
How to Setup August Wifi Bridge?
How to Connect August Smart Lock with Alexa?
How to Control August Door Lock with Amazon Alexa?
How Do I Exclude My August Smart Lock Pro?
© 2026 SmartDevicesHelp.com. All Rights Reserved.
Top Searches in august doorbell