If you connect your Nintendo Wii to Wi-Fi, then it can help you in accessing the internet from Wii only without depending on wired connectivity. You can connect Wii to a local wireless network if you know the passphrase of the network.
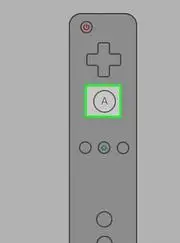
Step 1: Turn on your Nintendo Wii and press the A button on your remote. This will open up the main menu of the Wii.
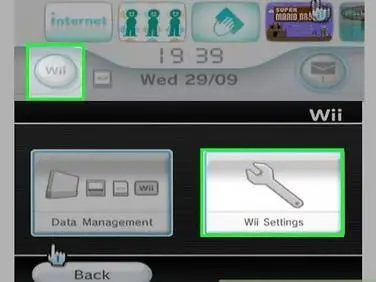
Step 2: Choose the Wii button given at the lower-left vertex of your screen and then choose Wii settings.
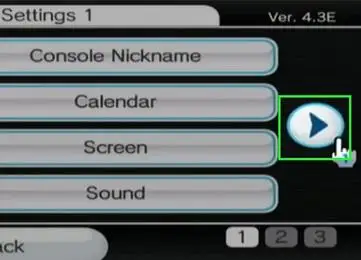
Step 3: Go to the arrow appearing on your screen's right side and select it. This will open up the Wii system settings.
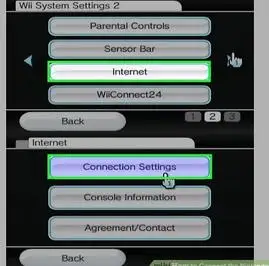
Step 4: Go to the internet and then select connection settings.
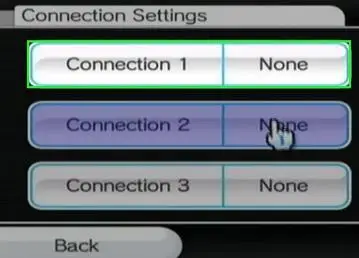
Step 5: Choose any empty connection slot. In case all the slots are occupied, then choose the slot that you wish to be cleared. After that, select "Clear Settings". Your Wii will not get connected to Wi-Fi unless an empty connection slot is used.
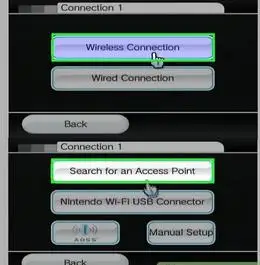
Step 6: Choose the wireless connection and then choose the option of "Search for an access point."
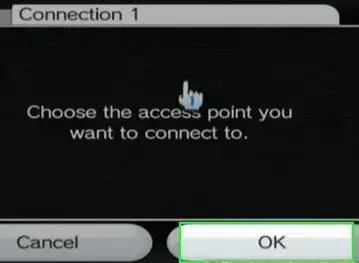
Step 7: Choose Ok and then your Wii will scan all the wireless networks around you. After that, show the list of networks on the screen.
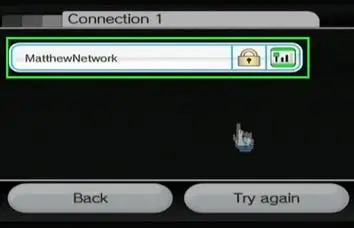
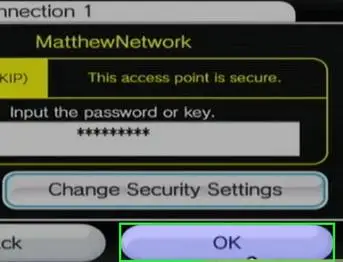
Step 8: Select the network that you wish to connect to and then enter the security password. In case you don't know what the security password is, then try to get in touch with the network administrator and then enter the password on your router. You can also contact the router manufacturer to get to know the default password.
Step 9: Select Ok thrice in a row as you see every prompt. This will save the settings of your wireless network and then check internet connectivity.
Step 10: Tap on Yes when a message appears on your Wii stating successful connection test. Now your Wii will get connected to the chosen wireless network.

So these are the steps that you need to follow in order to connect your Nintendo Wii to WiFi.
 Related Blogs

Top 11 Best Smart Home Devices & Systems of 2026

How to Use Google Lens on iPhone?

Top 7 Best Smart Home Security Systems of 2026
How to Connect Philips Hue Devices?
© 2026 SmartDevicesHelp.com. All Rights Reserved.


Top Searches in smart devices