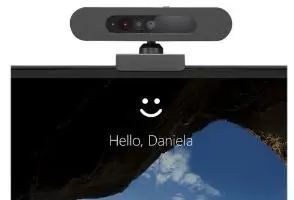
Are you troubled with the Lenovo webcam not working issues on laptop? If yes, then you have come to the right place to look for a solution. This issue can occur if Windows does not detect your webcam.
This issue can also occur because of device driver issues. Lenovo laptop, not working problem can be really bothersome. This issue doesn't only occur on Lenovo products but other brands are also prone to it.
This issue can also occur because of some problems with the Lenovo laptop settings. The camera gets disabled automatically for the user's privacy.
You can easily fix the webcam in this case scenario. In case the simple solution your try does not work for you, then you can try some other tricks like tweaking and updating for making the webcam work.
However, there is nothing to worry about as here we are available with the simple solutions that you can apply to fix the Lenovo webcam problem.
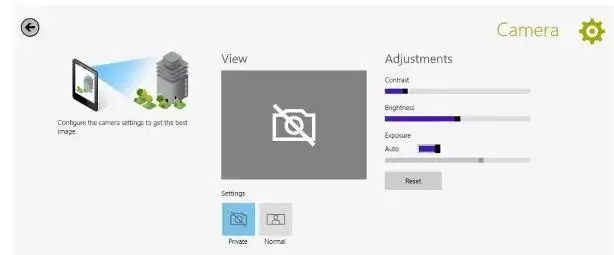
The first method to resolve the webcam not working issue lies within the Lenovo app only. Go to the keyboard of your laptop and press the F8 key. It will either enable or disable the Lenovo EasyCamera.
In case this doesn't resolve your issue, then you can apply the steps given below.
Step 1: Go to the Windows search box and then enter "Camera" in it. Then, you need to select Camera Settings.
Step 2: After that, you must g to the Camera Privacy Settings.
Step 3: Enable the "Turn privacy mode on" option.
Step 4: After that, try retesting your camera.
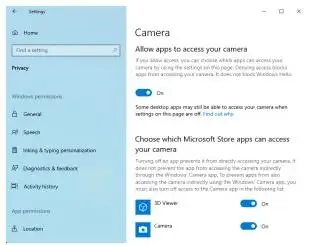
The privacy settings are designed in order to protect the users from hackers. However, this can be a bit troublesome when your camera stops working.
You need to see if your webcam is enabled in the device manager. Below are the steps that you need to follow in order to enable the device manager.
Step 1: Go to the Windows Start button and then right-click on it. After that, choose Device Manager.
Step 2: Choose Imaging Devices and then select Lenovo EasyCamera. If you see a warning sign with a yellow-colored triangle, then that means there is some problem. If you see a down arrow close to it, then that means the camera is turned off.
Step 3: Go to the Lenovo EasyCamera and then right-click on it. After that, you need to ensure that there is no enable option. In case you find that the camera is enabled, then you must select "Disable".
In case you find that the camera is enabled, then you must update the driver.
Below are the steps that you need to follow to update the driver.
Step 1: Select Lenovo EasyCamera again and then right-click on it.
Step 2: After that, you need to choose the automatic option to check if Windows can search for a fresh driver.
Step 3: Now, enable it to install and reset.
 Related Blogs
Top 11 Best Smart Home Devices & Systems of 2026
How to Use Google Lens on iPhone?
Top 7 Best Smart Home Security Systems of 2026
How to Connect Philips Hue Devices?
© 2026 SmartDevicesHelp.com. All Rights Reserved.

Top Searches in smart devices