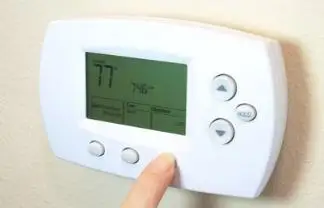
Wiring a Honeywell thermostat is a significant step in setting up your home heating and cooling system for effective operation and personalized temperature control. Honeywell thermostats come with various models and features, but the basic wiring principles remain consistent across most installations. Understanding and implementing the steps correctly will enable you to wire your Honeywell thermostat in no time.
Are you wondering How To Wire A Honeywell Thermostat? Well then, in this guide, we’ll provide you with some simple and quick instructions that will help you wire your Honeywell thermostat in no time, ensuring the effective functionality of the thermostat.
You can also get a Honeywell thermostat that can perform multiple functions for controlling a simple system but don’t let the system control the thermostat. This way, you will be able to have a better idea of how the heating and cooling system at your home works prior to purchasing a thermostat to control the system.
In case you don’t have much knowledge about HVAC, then you can just count the number of wires in your old Honeywell Thermostat. The new Honeywell thermostat that you are planning to buy can also have the same wire count or somewhat near that.
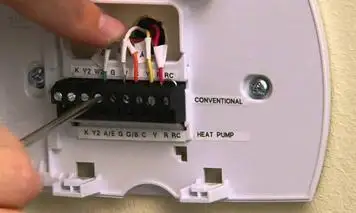
These are the mandatory industry standards that Honeywell thermostats are bound to follow for terminal identification. Every terminal has a letter, which signifies the color of wire, which you are supposed to connect to it.
There are a few Honeywell thermostats, which have some more terminals as well, which includes W2 as the second stage heater, X2 for the second stage indicator lights and Y2 for second stage cooler. The wire colors of rest of the terminals have not been specified.
Rest of the Honeywell thermostats have less number of wires. Again, if you take a good look at the wiring of the Honeywell Thermostat, then you will get to know that it only has 2 wires, which are R and W. You cannot control it as it is a mechanical one. It does not require power for performing internal functions. Therefore, it does not have a C wire.
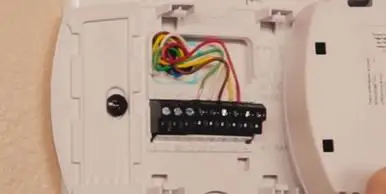
In case your system has both heating as well as cooling functionalities, then you will be required to connect both Rh and Rc terminals using a red wire. As a Honeywell thermostat Jumper wire is already installed on many thermostats, you only need one red wire for wiring purpose. It can be the Rh wire or Rc wire.
In case you don’t see an already installed jumper wire, then you can do its installation on your own. If not, then you will be needing two separate wires, which will help you connect both the terminals separately to the transformer of the system.
At the time of installing the Honeywell thermostat, a lot of people don’t pay attention to the color of wires. So, you can’t go with the assumption that the color of the wires, which are coming out of the walls will work as per the normalized functionalities.
One great way to determine the wire is to view it in the control panel of the system. The terminals assigned to it are the same as in the case of Honeywell thermostat and you can easily identify the color of the wires connected before you detach them. After that, you can attach wires to the newly bought Honeywell Thermostat in the exact same manner.
So, this was all about how to wire a Honeywell thermostat. In this blog post, you did not only learn how to wire a Honeywell thermostat but you also got to know about how to wire terminal letters. Additionally, you got to know about metal jumper for thermostats.
You Can also Visit This Newest Blogs
How To Unlock The Honeywell T6 Pro Thermostat?
How Do I Set My Honeywell Thermostat Temperature?
How To Fix Honeywell Thermostat Blank Screen?
How To Wire A Honeywell Thermostat?
How To Reset Honeywell Thermostat WiFi?
 Related Blogs
Why is Honeywell Thermostat WiFi Not Working?
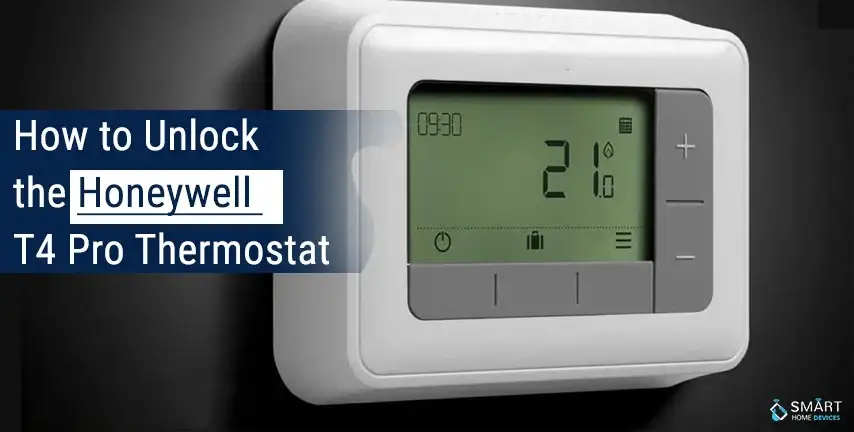
How to Unlock the Honeywell T4 Pro Thermostat?
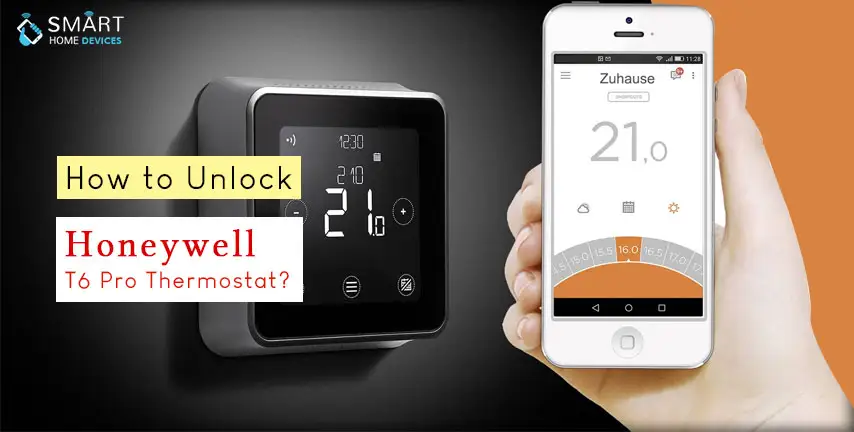
How to Unlock the Honeywell T6 Pro Thermostat?

How to Wire a Honeywell Thermostat?
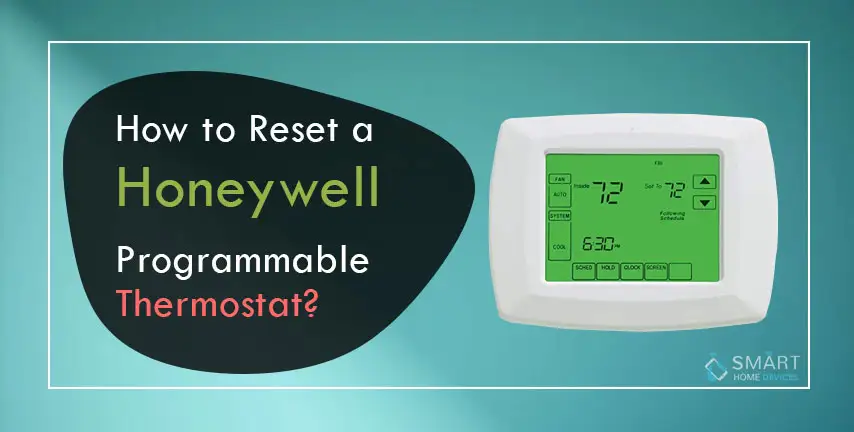
How to Reset a Honeywell Programmable Thermostat?
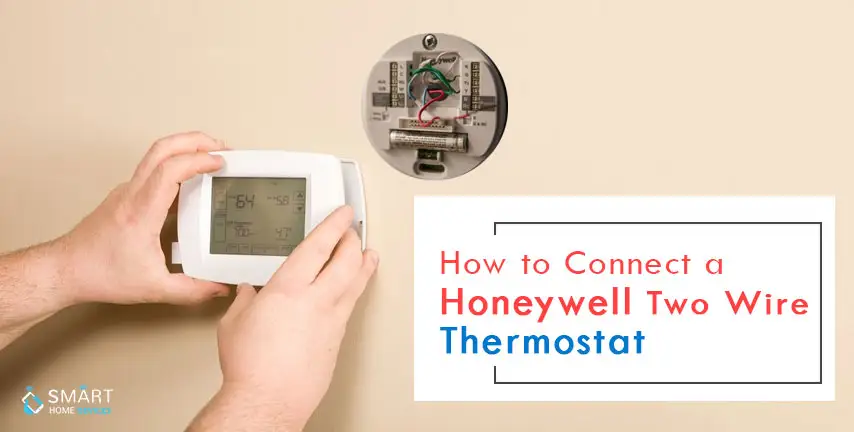
How to Connect Honeywell Two Wire Thermostat?

Why is My Thermostat in Recovery Mode?
© 2026 SmartDevicesHelp.com. All Rights Reserved.
Top Searches in honeywell thermostat