With the rise in the demand of security cameras, several companies have began manufacturing them as these equipments not only reserve our place but also provide a variety of features which help us visualize the live footages of our area.
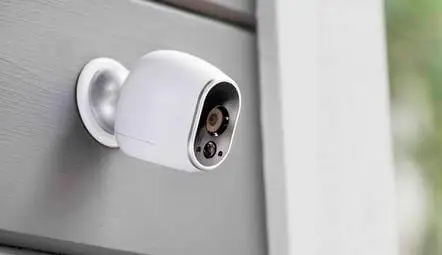
If you are in search of the best security camera for your home, you must proceed with Arlo Camera as they can also be linked with Arlo Solar Panel. To gather more knowledge about their features and various services, you can come in touch with the Arlo Support team.
Arlo cameras can also be utilized with the solar panel. Yes, one can link the Arlo solar panel to camera and light.
Utilizing the Solar panel to provide support to security camera is the most viable thing as you don’t have to recharge its battery repeatedly. By utilizing it, you will never need to charge it again. The solar panel uses power from the sunlight and maintains the charge of Arlo battery.
It is truly weather-resistant and comprises a movable mount so that it can be easily installed at an outdoor venue. It can be utilized with the Arlo Pro, Arlo go and Arlo security light system. We have come up with a detailed manual which will let you attain knowledge of the way to establish connection of Arlo Pro Solar Panel with Arlo wireless camera.
These instructions apply to setting up Arlo Wire-Free cameras with both Arlo base stations and Arlo Pro base stations. If you sync Arlo Wire-Free cameras with an Arlo Pro base station, the Arlo Wire-Free cameras can access the Arlo Pro base station features: the siren and the USB local backup storage option.
Step 1 : Unlock the battery by sliding and pressing the latch.
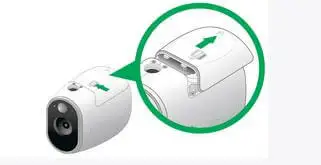
Step 2 : Slide the battery door backwards and lift it up to open up the compartment.
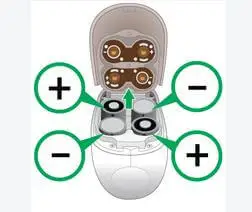
Step 3 : Put the batteries as shown and close the battery door.
Step 4 : Position the camera within one to three feet (30 to 100 centimeters) of the base station.
Step 5 : Sync the Camera with the Base Station:
If you are utilizing an Arlo base station, press the Sync button present on the side or on the back of the base station for around two seconds and then let go of the button.
Note: If you press the Arlo Wire-Free Sync button on the base station for too much duration, the LED under the USB symbol flickers amber for 10 minutes. While the USB LED is flickering amber, the sync process is blocked.
If you are utilizing an Arlo Pro base station, press the button present on the top of the base station for around two seconds and then leave the button.
Step 6 : Wait for the sync status LED to appear green.
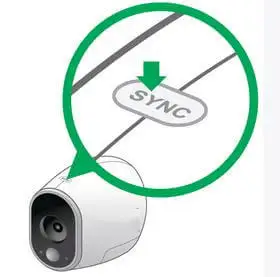
Step 7 : Press the Sync button on top of the camera for around two seconds and then leave the button.
Note: Cameras must be joined one at a time.
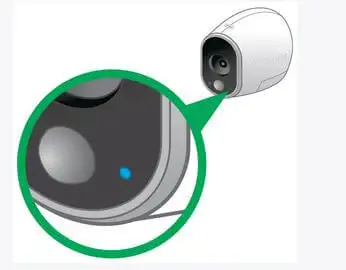
Step 8 : A Blue LED on the Camera Flickers Quickly to Confirm Sync.
If the LED on the camera flickers amber, the sync is not effective. You must repeat the sync process.
The article comprises of information about utilizing a Solar panel with an Arlo wireless camera. We have given a whole guide on positioning it in a proper place. In case, if you need expert’s help, you can take assistance the Arlo Customer Support team which is 24/7 available to help their valuable customers.
 Related Blogs
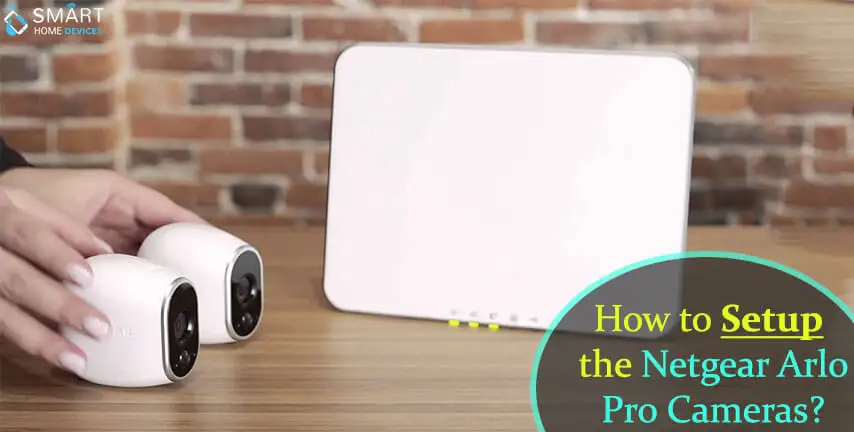
How to Setup the Netgear Arlo Pro Cameras?

Why is My Arlo Go Camera Not Streaming?
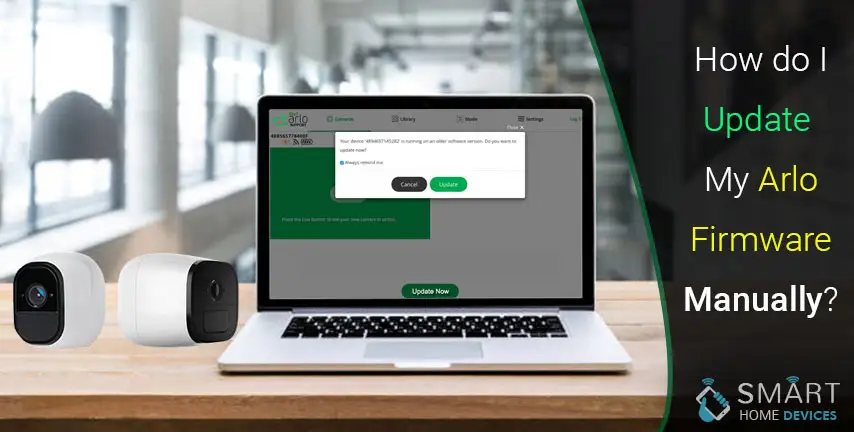
How do I Update My Arlo Firmware Manually?
How To Save Video from Arlo camera To Computer?
How Do I Log into My Arlo Account?
How to Download Arlo App in Windows 7, 10?
How to Set Up Arlo Wireless Camera System?
© 2026 SmartDevicesHelp.com. All Rights Reserved.
Top Searches in arlo doorbell