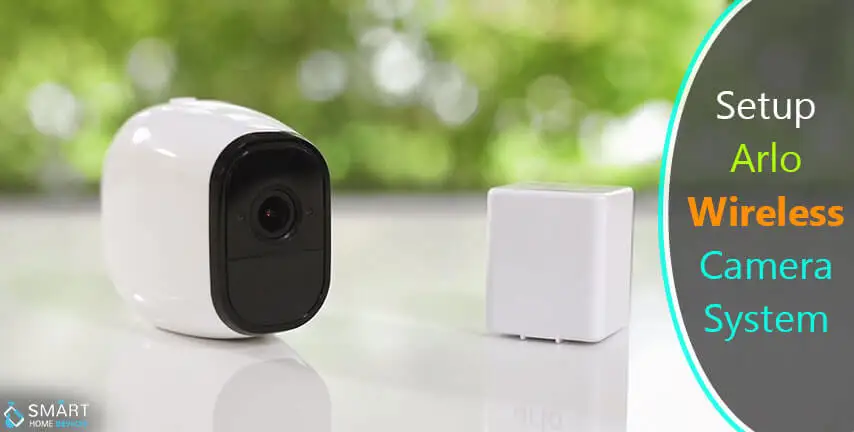
How to Setup the Netgear Arlo Pro Cameras?
If you are looking forward to setting up a security camera in your house, which is wireless in every way, then Netgear Arlo pro is the camera that you need to consider. Wireless cameras have some issue if you compare them with the wired cameras. Although they have an easy installation process.
If there is something that separates arlo cameras from any other Wi-Fi cameras, then that is their inbuilt battery that allows you to stream and record videos without connecting them to a power source. Several other wireless cameras always have to be connected to a power source even if they are getting the signal from a wireless network.

Arlo Pro makes use of a central hub to which you connect your arlo pro cameras. Wireless cameras use a z-wave for having wireless communication instead of Wi-Fi that is the case in most of the other security cameras.
Arlo cameras have to be connected to the base station to be able to communicate with the Wi-Fi network at your home. So mentioned below are some of the steps that you must add here to in order to setup Netgear arlo pro cameras.
Step 1: Download and Setup the Arlo Pro Application
- Although you need to use the base station, the setup procedure is extremely simple and it does not take more than 10 minutes. To begin with, you first need to download the Arlo pro application in your smartphone. This application is available for free on Android devices and iPhone.
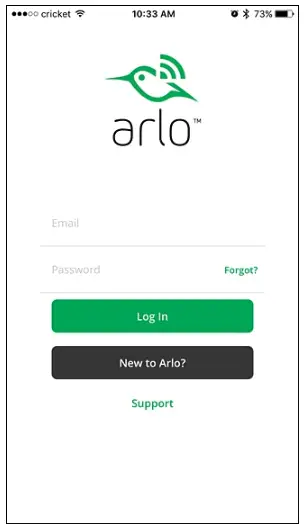
- Open up the application by tapping on the button of “New to Arlo”.
- In the next screen to setup Netgear arlo pro cameras, choose which arlo product you are interested in setting up. Select the option of the “Arlo wire-free”
- The application will allow you to install the hub of Arlo base station. For doing this, insert one end of the ethernet wire in the base station and the other end in the internet port of your router. Insert the power cord and press the power button, which is placed at the back of your hub right next to the power connector.
- Once you are connected to the base station, click on the button of continue on your application.
- Now to setup Netgear arlo pro cameras, wait for some time so that your hub gets powered on. The app will start searching for a hub on your network.
- When ready, you must choose the time zone in the application. Select the time zone and then hit the button of save that is placed on the top right corner and then touch the back arrow that is placed on the top left vertex. Touch on continue for moving forward.
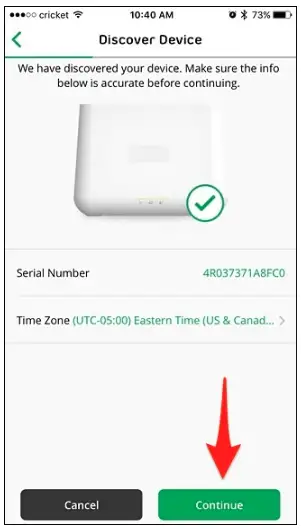
- After that, give a name to the base station. You can give as creative name to the base station but if you are not comfortable with it, then you can keep a simple name as well. Now, select the button of continue when you are done.
Step 2: Make a Netgear Account
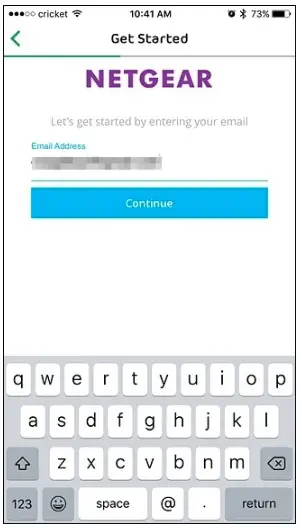
- After that to setup Netgear arlo pro cameras, you will have to create a Netgear account. You will have to enter the e-mail address and then tap on the button of continue.
- Enter the name and password of your account and agree with the privacy policy terms and then hit on the button of next that is given at the end.
Step 3: Sync the Cameras to the Base Station
- In the next step,you will be required to sync the Arlo cameras to the base station. This will require syncing one camera at a time.
- Please ensure that your camera is close to the base station at the time of syncing. You can move them away after the syncing is over. Now, tap on continue on your application.
- In case, the battery of the camera is not already installed, then open up the cover on the back of your camera and then place the battery in it.
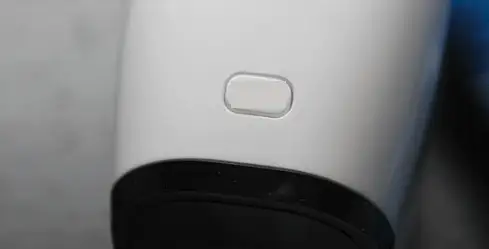
- Press the button of sync at the top of the base station for at least 2 seconds. And then the green light will start blinking.
- Then to setup Netgear arlo pro cameras, you must press the button of syncing on camera until the blue LED light placed at the front of your camera starts flashing.

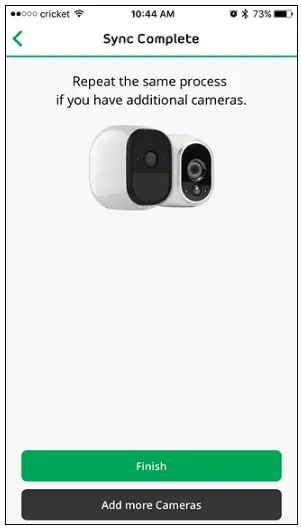
- When the camera and the base station both are in the sync mode, then they will get connected to each other automatically. Once they both are connected, tap on the button of continue and reach the screen of sync complete. After that, you have two choices, either you can add more cameras or hit the button of finish, in case there is more than one camera that you want to connect.
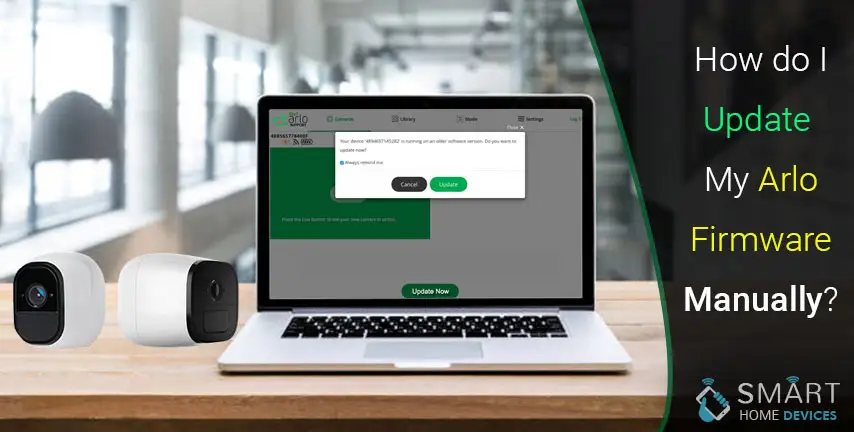
Step 4: Update the Camera and Base Station Firmware
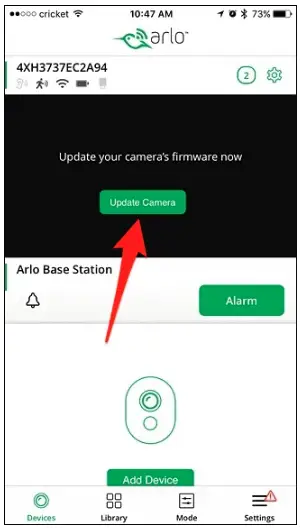
Once all the cameras are connected to the base station, then you should tap on the button of finish. After that, you will be redirected to the arlo application’s main screen where you will receive a notification for updating the firmware. Tap on the option of “update base station” and then wait for the update to get completed. After that, you have to do the same thing with the cameras once the Base station is updated.
Step 5: See the New Security System
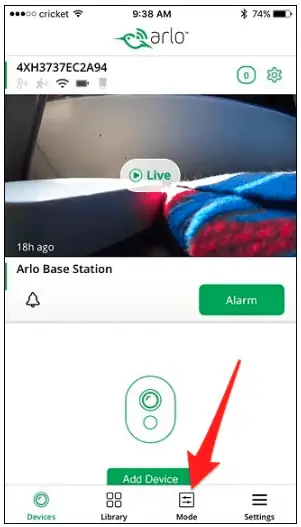
Tap on the button of live after completing the update. This way you will get to see the Arlo Camera live.
- By using the application, you can adjust the brightness of the camera, record video manually, disable or enable audio capturing, click a picture and sound the alarm.
- It also allows you to arm or disarm the system manually. For that, you need to select the mode app that is given at the end of the application.
- After you are done with the process of how to setup Netgear arlo pro cameras, go to the Arlo base station. A screen will appear in front of you that will enable you to disarm or arm the system. It is actually nothing but turning on or off the audio and motion detection.
So, these are some of the steps that one needs to follow in order to setup Netgear Arlo pro cameras.
We hope that the above article could give a solution to your problem.
Also Read:
 Published by: Blaze
- Brand: Arlo Doorbell
- Last Update: 1 month ago
- Reading Time: 6 min
 Related Blogs

Top Searches in arlo doorbell