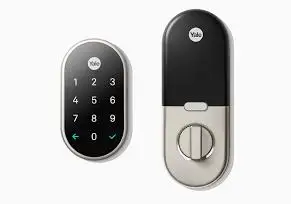
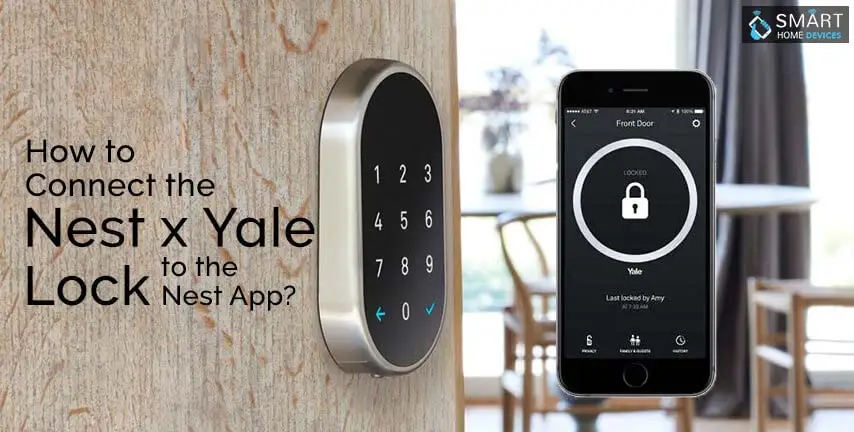
The process to set up Nest x Yale lock is quite simple. You can install it on many of the standard doors and the great thing is that the door does not need to meet any size requirements.
Once you have removed the present lock and setup the Nest x Yale lock, then the next thing that you will do is to test and calibrate it. After that, the last thing that you need to do is to connect it to the Nest app on your smartphone so that you can control the locks using your smartphone.
The installation of this lock needs the perfect alignment for connecting each part of the door with another. The steps to set up the Nest X Yale lock are pretty simple but you need to carefully apply the information.
Prior to starting with the installation process, you need to make sure that the door meets with all the necessary requirements. Take a look at the template given in the installation manual.
The thickness of your door should be around.
If the lock holes of your door meets with these requirements, then you should try redrilling the holes once you are done removing the present lock. You can also get in touch with the Nest Pro installer in your locality for installing the lock for you.
All the tool that you will require for installation is inside the box. Please ensure that all the tools are present in the box. You will also require some other tools which include:
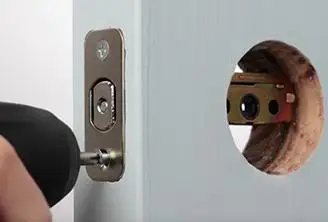
The foremost thing that you need to do is to remove the strike plate and present lock. You will need a wrench your screwdriver to fit it into the hardware of your lock.
If the center of your lock hole is not either 2 â…œ or 2 ¾ inches from the edge of the door. Make use of a 2 â…œ drill bit for repositioning the holes. You will also be needing a chisel for repositioning the cut out for latch plate.
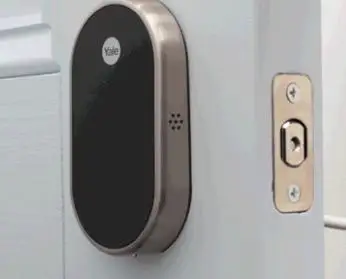
Important: After that, you need to install the strike plate, which is inside the lock. It looks exactly the same as the present lock. If you won’t install it, then the lock will get jammed.
Remove the present strike plate and put it in the strike plate that is in the door frame. Make sure that the hole inside the plate lines up with the bolt of the lock prior to installing it.
Note: Either you can select the short screws for simple installation using a screwdriver or use the long ones for more security.
After that, install the keypad on the front side of the door.
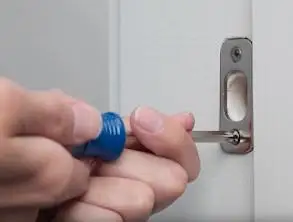
Important: Please ensure that the deadbolt is totally retracted. Also, make sure that the latch hole is straight before you move forward.
Run your wire through the lock hole. After that, press to fit the keypad inside the hole. It must hold itself properly in the right position.
Remove the mounting plate on the backside of the lock. After that, take off the battery cover using the key provided. Place the key on the hole that is placed at the top of the lock. Now, take off the cover.
Tip: Now, use the thumbtack rather than using the key
After that, all you need to do is test and setup your lock and then connect it to the Nest app. So, this is the procedure that one is required to follow in order to set up the Nest x Yale lock.
 Related Blogs
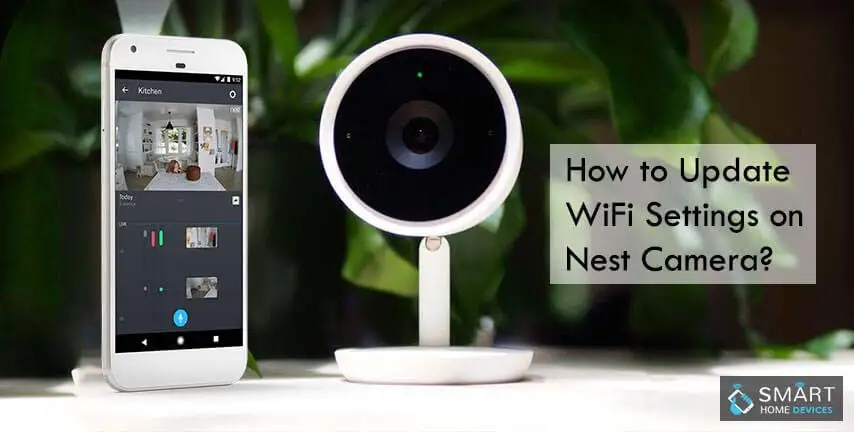
How to Update WiFi Settings on Nest Camera?
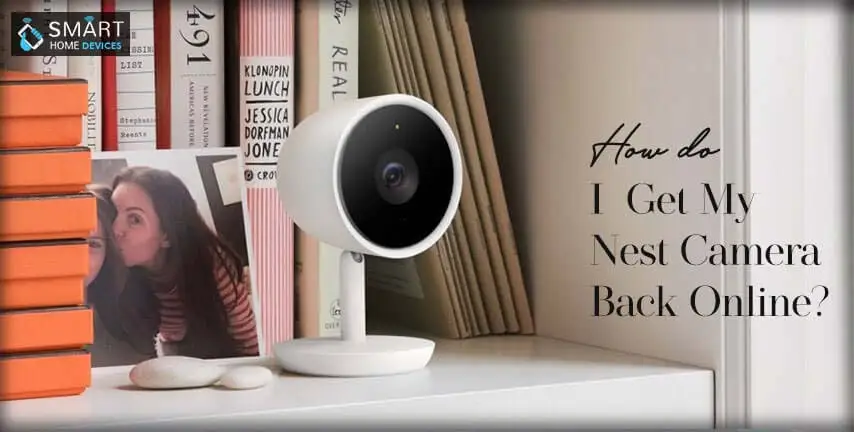
How Do I Get My Nest Camera Back Online?
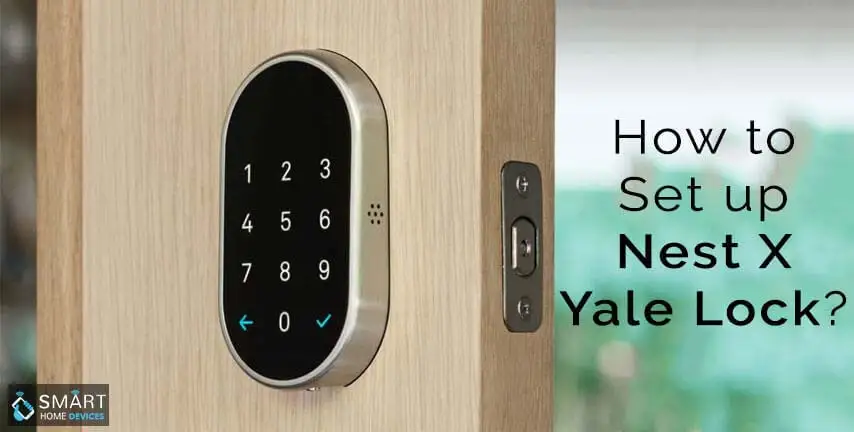
How to Set up Nest X Yale Lock?
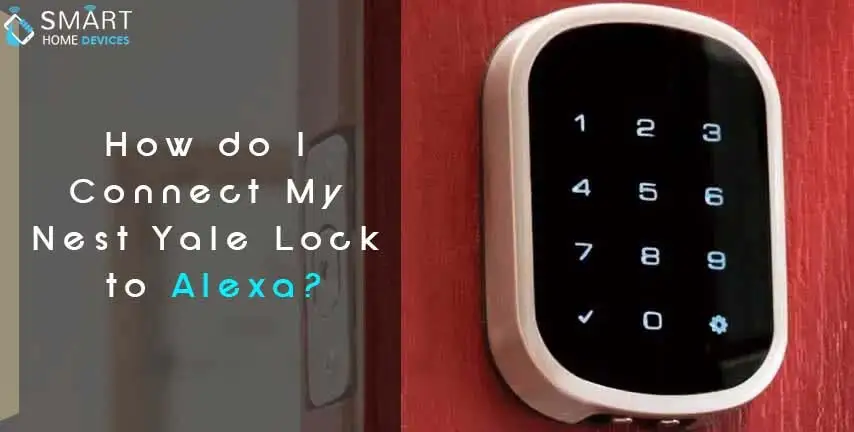
How do I Connect My Nest Yale Lock to Alexa?
© 2026 SmartDevicesHelp.com. All Rights Reserved.
Top Searches in nest camera