When you want to change your router setting or wifi password and want to install a new router then, in that case, you need to update wifi setting on Nest camera. At the time of updation make sure the internet is connected.
If you are planning to move a camera with another wifi network then you have to connect all the devices with new wifi. Whenever you connected with new wifi then you have to change the setting. But, with the help of Nest cam, it makes easy for us.
Through the Nest app, you can be fixed your wifi with a new password for the Nest camera or doorbell on the phone or tablet which has Bluetooth. Here are the details on how to update wifi setting on Nest camera over Bluetooth.
Step 1: Start and open the Nest app and click on the setting, you will find an icon on the top right side in the corner.

Step 2: Press Home info and tap on home wifi help.
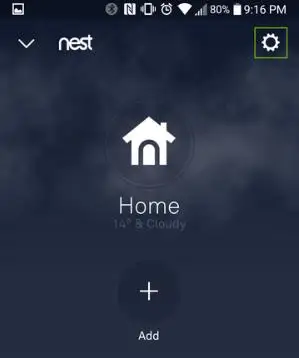
Step 3: Remember if you did not find a home wifi help then you will have to remove the camera.
Step 4: And connect with the new wifi information.
Step 5: Then click on the camera you need to update.
Step 6: Click to start.
Step 7: Click the update setting.
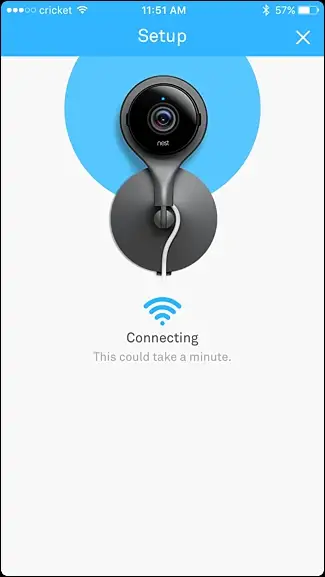
If you didn’t find home wifi help then the camera requires a configuration with a USB. And the above-mentioned method didn’t work then you will have to take out your camera from the app and connect with the new wifi data.
Note: Before removing the camera, save all your video clips which is important for you because after removing the camera you will lose all of your data and history. Delete the Google Nest aware subscription before eradicating of the camera.
Step 1: To eradicate the camera from the app it automatically deletes all the data from your history list.
Step 2: Take the camera out and log in to Nest app.
Step 3: At the home app of the screen click on the setting.
Step 4: Select the camera which you want to remove.
Step 5: Go down and click on the removed camera.
Step 6: Now you have to confirm your choice.
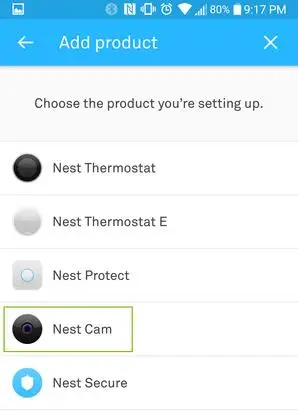
Step 7: Want to add your camera again then tap on the home screen click on setting.
Step 8: Select to add product and follow the app given instruction.
When you connect and share the wifi information then Nest protects the Nest products. But in any case, the protector will don’t ask you for new wifi info, then may your Nest products will share the wifi information.
So, if you want to update wifi for the Nest camera you have to protect the before updation ready to start. When you add your Nest protects you may find the error, in that case, go back to the app.
Sometimes, whenever you want to change your wifi network settings then that time you need to update wifi settings on Nest camera. Through this updating thing, it is easy for us to change the setting of the device and it works smoothly.
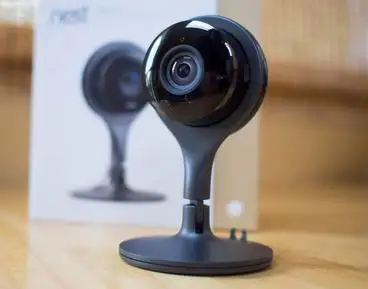
The Nest camera is developed for indoor security, it helps to protect your home and family after you even when you are far away from your home. It continuously records everything 24*7. It is the best way to protect our home or family with the help of a Nest camera.
It is the safest device for use as a security camera. One of the best parts of this camera is an indoor safety camera. And it is easy to use and easy to get. But sometimes it needs to update wifi setting on Nest camera, for a better experience.
I hope this article will help you to update Wifi setting on Nest camera. And you may find this article helpful.
 Related Blogs
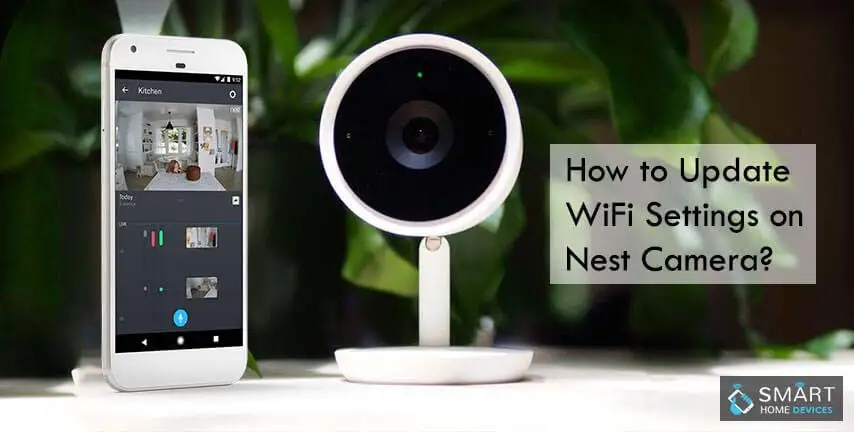
How to Update WiFi Settings on Nest Camera?
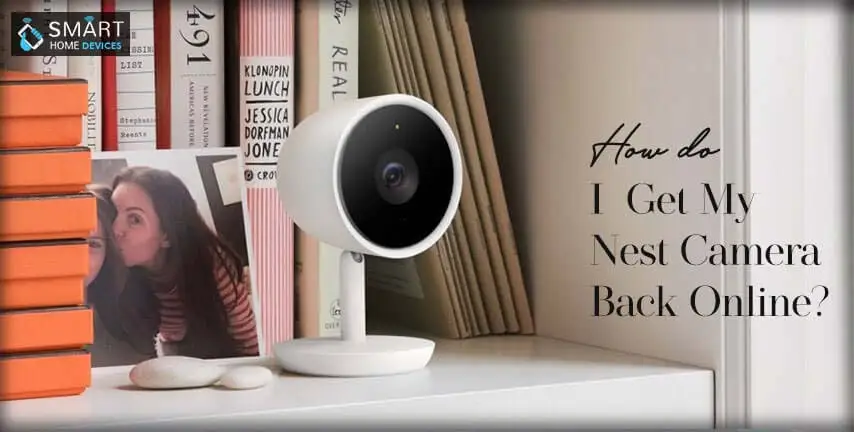
How Do I Get My Nest Camera Back Online?
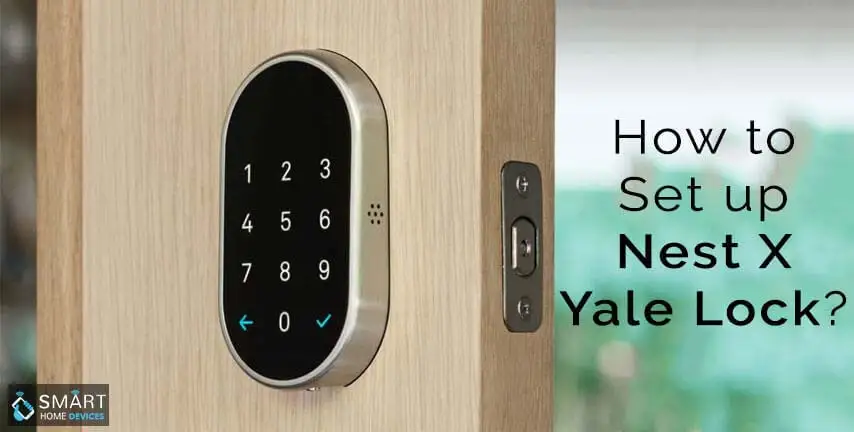
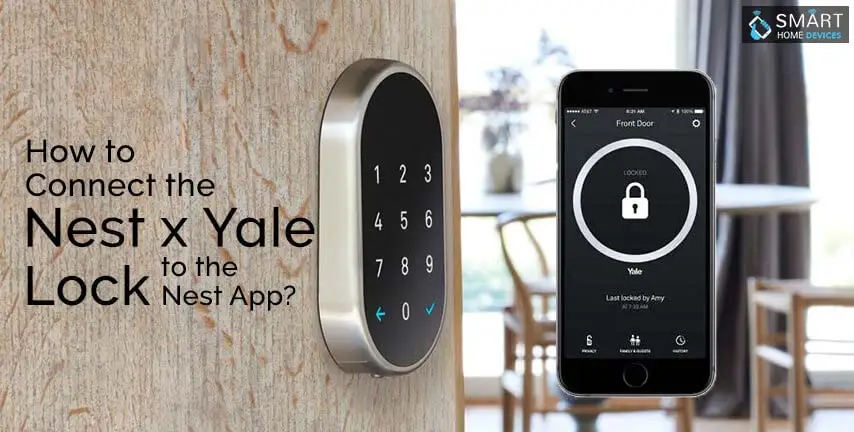
How to Set up Nest X Yale Lock?
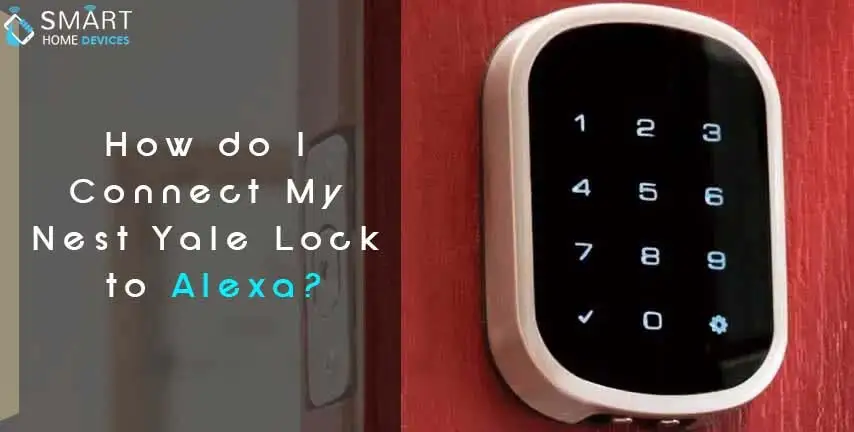
How do I Connect My Nest Yale Lock to Alexa?
© 2026 SmartDevicesHelp.com. All Rights Reserved.
Top Searches in nest camera