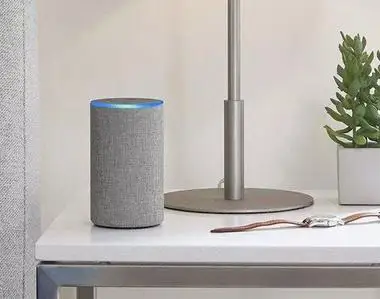
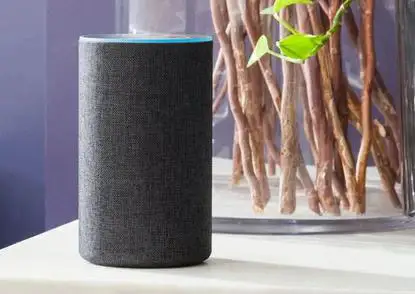
Alexa is a computerized PA (Personal Assistant) and the vocal sound of Amazon’s smart home gadget Echo.
At the moment, Amazon’s Alexa is only accessible on supported Windows 10 desktops and notebooks. It is either preinstalled on the piece of equipment or recommended during the device’s opening setup. Given that you have a Windows 10 PC, you most likely have the Alexa app for Windows 10.
If you want to check if Alexa is already installed on your Windows 10 PC, type Alexa into the Windows search box. If it doesn’t appear, don’t lose hope. Acer, Asus, HP, and Lenovo are soon going to fit in Alexa into a range of Windows 10 devices.
Note: Once the initial login is completed, Alexa will be permanently present on your computer.
To connect Alexa to your computer, begin with the wake word (“Alexa,” "Computer," etc.) followed by a command; otherwise, click the Alexa app on Windows icon.
Step 1 : Go to alexa.amazon.com to log in to your Alexa account.
Step 2 : In the left pane, click Settings.
Step 3 : Pick out your Echo in the device list.
Step 4 : Choose Bluetooth Pair under a new device. Alexa is now searching for existing devices.
Step 5 : Visit the search box of your computer, which is placed in the Start menu.
Step 6 : Enter Bluetooth and move to System Settings for Bluetooth.
Step 7 : Ensure that Bluetooth is turned on and people can locate your computer.
Step 8 : Under Add Bluetooth or another device, opt for Bluetooth.
Step 9 : Within the device list, choose your Echo and click Full.
Step 10 : Now, your Echo serves as a speaker for your PC.
Step 1 : Go to alexa.amazon.com to log in to your Alexa account.
Step 2 : In the left pane, click Settings.
Step 3 : Pick out your Echo in the device list.
Step 4 : Select Bluetooth.
Step 5 : Click New Device Pair; Alexa is searching for existing devices.
Step 6 : In the menu bar, go for the Bluetooth icon.
Step 7 : To start up the device, click Connect and abide by the onscreen instructions.
Step 8 : From the Apple menu, decide on System Preferences and then opt for Sound.
Step 9 : Under Output, click Echo from the device list.
 Related Blogs
How to Fix it When Alexa Won't Connect to WiFi ?

Why is Alexa Not Responding to Voice Commands?
How do I Connect My Amazon Alexa to WiFi?

How to Fix Amazon Echo Keeps Losing Connection?
How to Set Up Your Amazon Echo 2nd Generation?

How to Listen to Music on Your Amazon Echo?

How to Connect Alexa to Your Computer?
© 2026 SmartDevicesHelp.com. All Rights Reserved.
Top Searches in amazon alexa