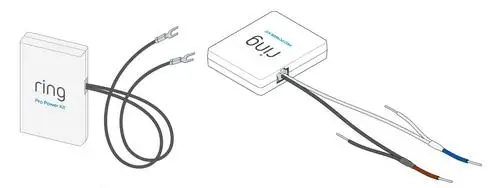
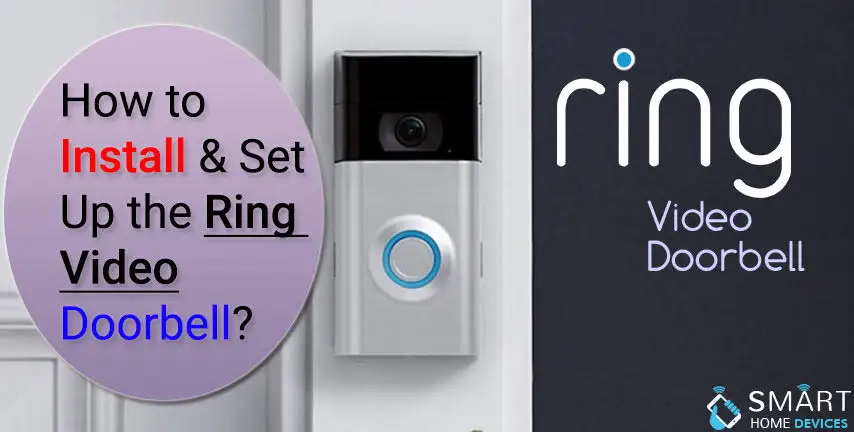
To make your ring video doorbell function, you need the Pro power kit. Make sure you install the Pro power kit before you install the Ring Doorbell.
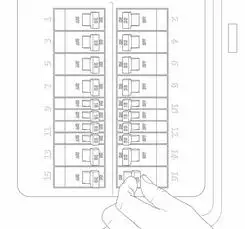
Step 1 : Turn the circuit breaker off for your internal doorbell.
Step 2 : Remove the cover of the internal doorbell.
Step 3 : Loosen the "Front" and "Trans" terminal screws on your internal doorbell.
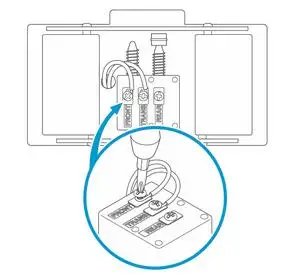
Step 4 : Try connecting one wire to the front terminal from the Pro Power kit and the second wire to the transformer terminal and leave the rest of the wires of Doorbell untouched. It doesn't matter which Pro Power Kit wire goes to each terminal.
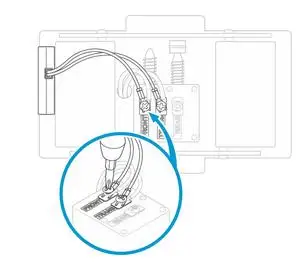
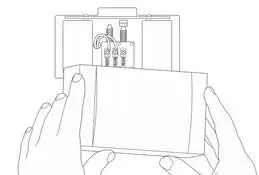
Step 5 : Then re-tighten the screws, Place the Pro Power kit inside of your internal doorbell, away from moving parts. To stick the Pro Power kit at one place, use adhesive on the back of it if needed.
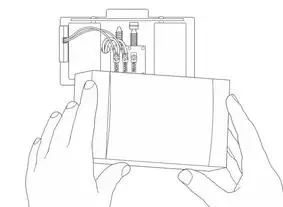
Step 6 : Replace the cover of your internal doorbell.
Once the Pro Power kit has been installed, you are ready to install the Ring video Doorbell Pro.
1. Detach your existing Doorbell Button
Turn the power off at the breaker. Detach the existing buttons and disconnect the wires.
2. The guide to Install Pro Power Kit V2 for Ring Video Doorbell Pro has already been given above.
3. Mount the Doorbell
Remove the device’s faceplate (a plate protecting a piece of machinery, a light switch, or an electrical outlet). If you are mounting a Doorbell in a masonry surface then use the device as a template to mark pilot holes. Insert the anchors after drilling the holes. Try connecting the wires to the screws on the back of the device.
The order of the wires doesn’t matter but just make sure the wires don’t touch each other. (don’t over tighten the screws). Drive the screws in after placing the device level against the wall.
Before turning the power on, check each portion of the wiring properly. It will take quite some time for the device to charge its internal power cell. After it’s been done, the device move into set up mode.
After the installation of Ring Video Doorbell, there will be a LED blinking in a blue colored circle which signifies the charging meter of your Ring Pro. And once the internal power cell is fully charged, the blue colored circle will be switched off and the device will automatically move to Setup mode.
You can continue with the setup mode after the charging process has been completed. Set up the Ring Video Doorbell Pro in the Ring App in order to Install Pro Power Kit V2 for Ring Video Doorbell Pro:

Step 1 : Download the Ring App from the Play store of your mobile device Or visit ring.com/app on your mobile device
Step 2 : Set up your account if this is your first ring device
Step 3 : Open the Ring App > create account > follow in-app instructions
Step 4 : Click on “set up the device”
Step 5 : Scan the QR code on your Ring Pro device
Step 6 : Point out the camera on your mobile device at the QR code on the video Doorbell.
Step 7 : You can also scan the QR code on the product packaging tag
Step 8 : Once the code is recognized, a green square will occur and the process will proceed to the next step.
Step 9 : You will receive a request from the Ring App to use your phone’s location, allow the app to do so and proceed.
Step 10 : Enter your address details in the app and confirm it.
Name your device: select a specific name for your device or type the name in the custom option.
Put Your Video Doorbell Pro into a Setup Mode.
If the doorbell didn’t enter the setup mode automatically, then press the small button on the side of your doorbell Pro. A spinning white light will appear on the doorbell pro and click on continue in the ring app.
Connect the App to Your Ring Device
Your device will automatically connect with the ring Wi-Fi network.
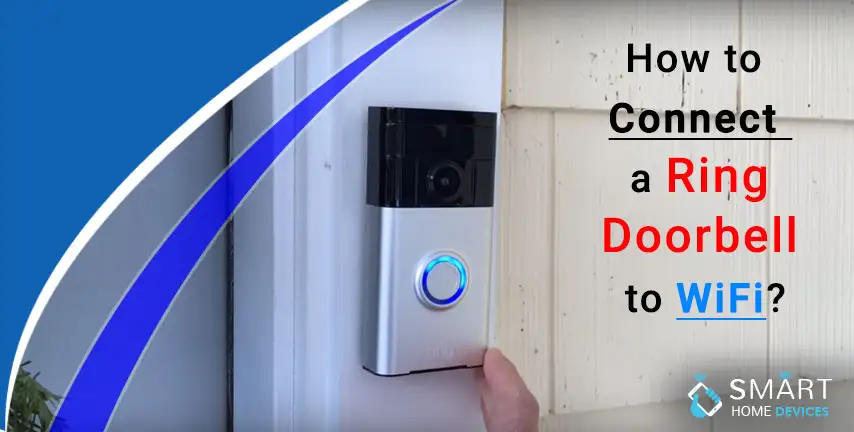
Try Connecting Your RING Doorbell Pro to the WiFi
Select your Wi-Fi network and enter the password and proceed by clicking continue. Check the device once the setup is completed.
Place the faceplate on the Doorbell and make sure it is secured to the device. Install the security screw at the bottom of the device. We hope the above instructions helped you to Install Pro Power Kit V2 for Ring Video Doorbell Pro.
 Related Blogs
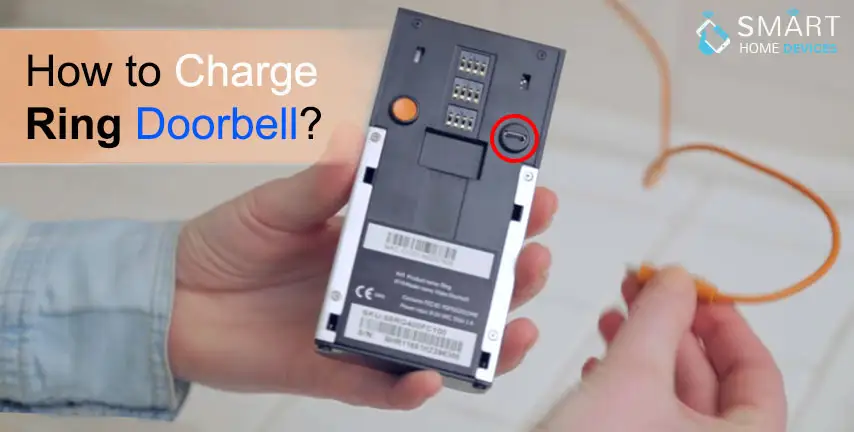
How to Connect a Ring Doorbell to WiFi?

How does Ring Doorbell Work with Alexa?
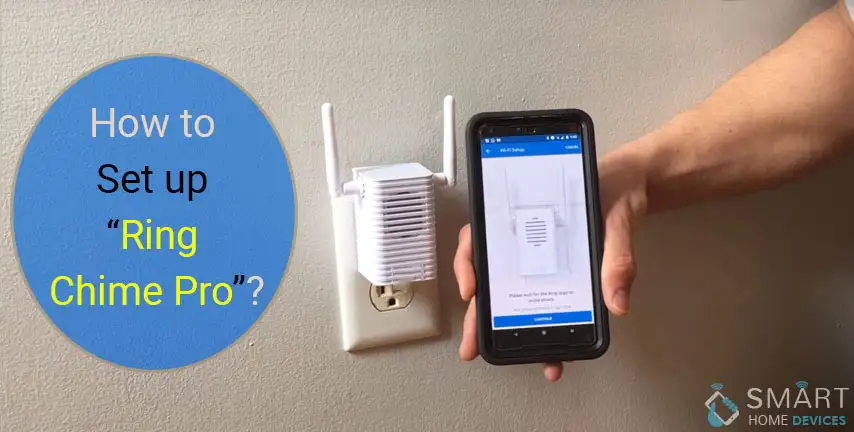
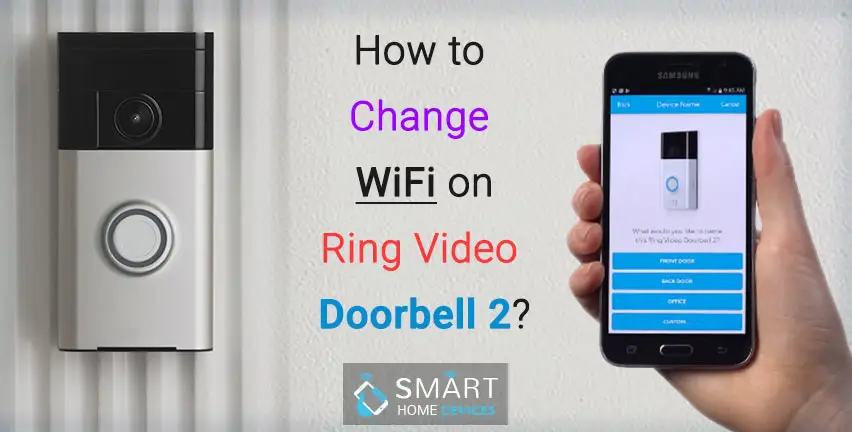
How to Change Wifi on Ring Video Doorbell 2?
© 2026 SmartDevicesHelp.com. All Rights Reserved.

Top Searches in ring doorbell