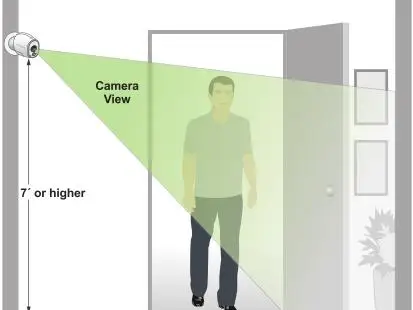
Distance guiding principles for maximum distance: As per the guidelines, listed below is the official instruction for achieving maximum distance, Position your Arlo wire-free camera at a distance of 300 feet (90 meters) from the base station.
The largest length of the space between the Arlo camera and the base station that is allowed is 300 feet (90 meters). Every single wall, ceiling, or any other primary obstruction between the camera and base station cuts down the maximum line-of-sight range by three hundred feet.
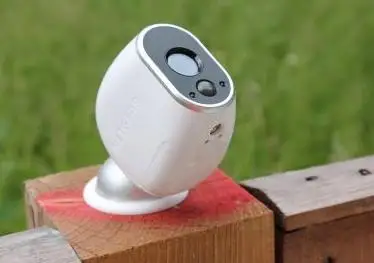
It is crucial to examine the camera LED on the base station; if it radiates in amber colour, then the base station senses a low data rate; this action makes it clear that the Arlo camera is exceptionally far from the base station.
As per the guidelines, listed below is the official instruction for achieving minimum distance:
Abide by the following positioning guidelines to stop meddling of Wi-fi signals of different gadgets.
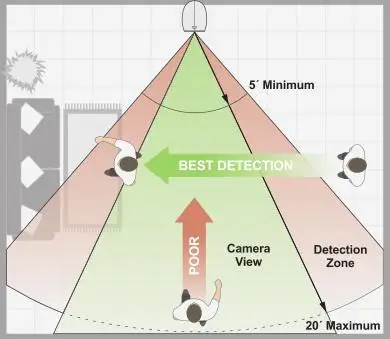
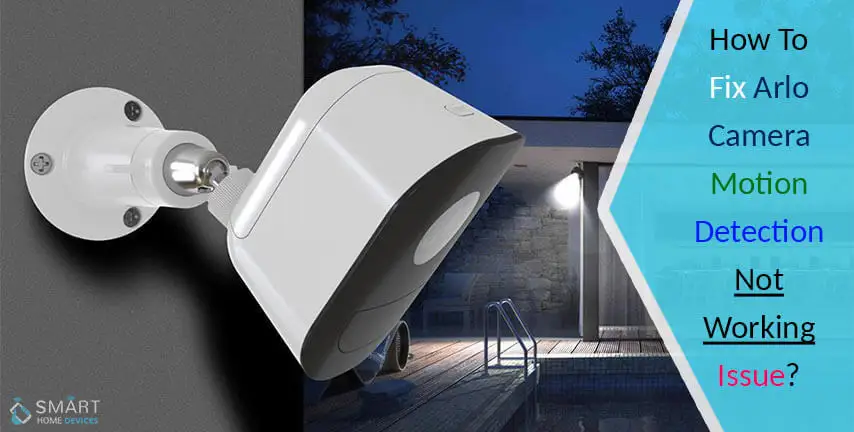
Arlo's motion sensor is extra-sensitive to side-to-side movement from corner to corner in its field of view rather than a direct shift in the direction of the Arlo camera or away from it.
The most advantageous area for motion detection is five feet to twenty feet (1.5 to 6 meters) from the Arlo camera spot.
In Position mode, you can rapidly view what your Arlo camera observes. If your Arlo camera is in the Position mode, then you are confident that your Arlo wire-fre camera is set in such a spot that makes it easy to scrutinise your desired range.
However, be aware that you can access the Position mode only when your camera is not:
Step 1 : First, either start the Arlo app or log in to your Arlo account at my.arlo.com.
Step 2 : Later, click Settings > My Devices.
Step 3 : Select the camera that you want to put in Position mode.
Step 4 : Next, click Device Utilities > Camera Positioning.
Step 5 : The camera begins streaming video. Know that the Position mode streams video as fast as possible, minus buffering; it does this step so that you get to aim your camera when watching a smartphone or PC and can knock together real-time adjustments to the camera position. What this step suggests is that you may get to view an inferior quality video in Position mode.
Step 6 : Fine-tune the camera till you receive a suitable view of the region that you are interested in recording.
Step 7 : In case you receive an unacceptable view of the region that you are interested in recording, either change the position of the Arlo camera or camera mount and make another attempt.
 Related Blogs
How to Setup the Netgear Arlo Pro Cameras?

Why is My Arlo Go Camera Not Streaming?
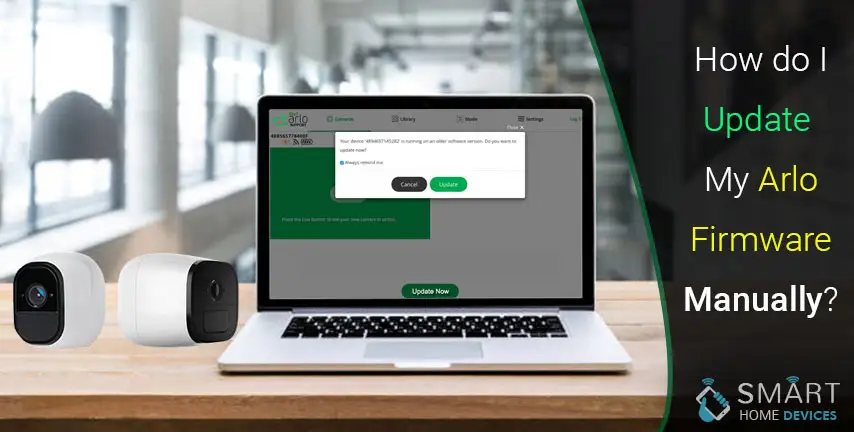
How do I Update My Arlo Firmware Manually?
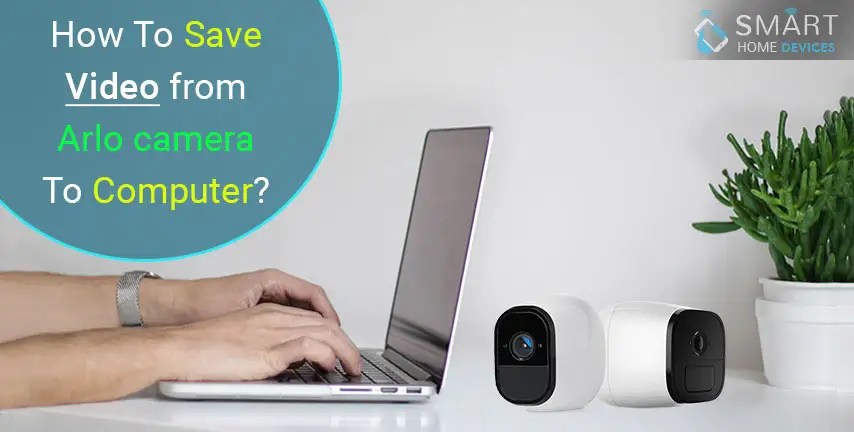
How To Save Video from Arlo camera To Computer?
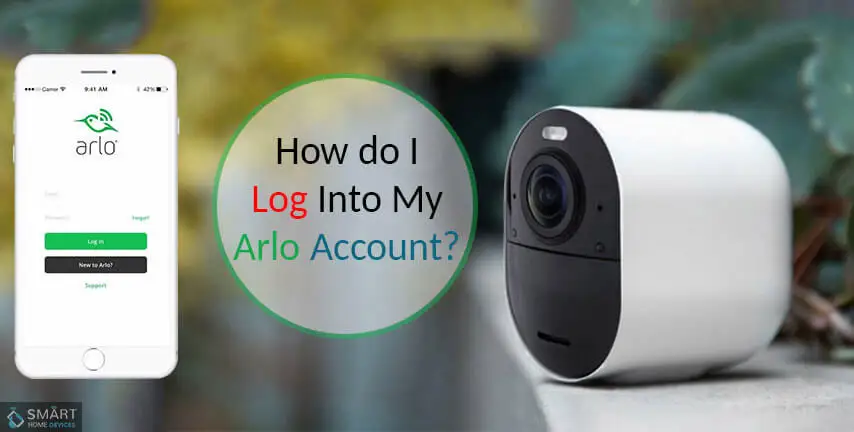
How Do I Log into My Arlo Account?
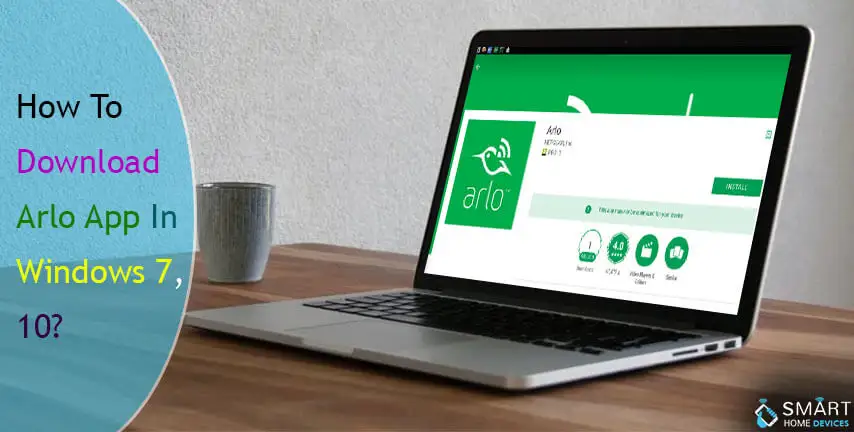
How to Download Arlo App in Windows 7, 10?
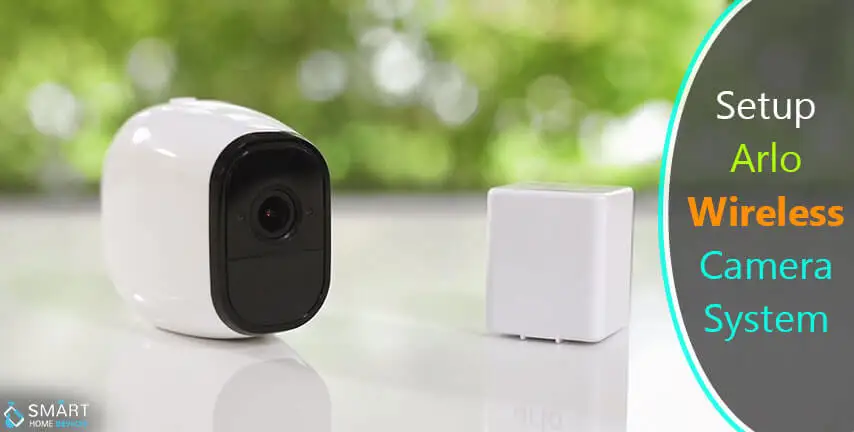
How to Set Up Arlo Wireless Camera System?
© 2026 SmartDevicesHelp.com. All Rights Reserved.
Top Searches in arlo doorbell