Nest Learning Thermostat is an electronic, programmable, and self-learning Wi-Fi-enabled thermostat that optimizes heating and cooling of homes and businesses to conserve energy.
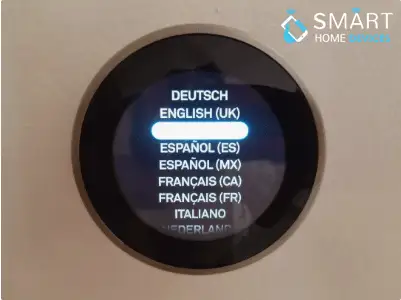
Step 1 : Choose your preferred language from the available list and then confirm it in the next step.
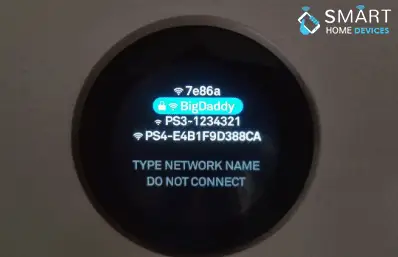
Step 2 : A list of all the Wi-Fi’s will appear on the Nest screen. choose your network from the list, now enter the password on the screen using the dial and face button to enter the characters.Once the password is entered, dial to and select the checkmark at the bottom of the screen.
Step 3 : Nest will confirm the connection to your Wi-Fi, then press on the face button to continue. The device will check for the recent updates and before allowing you to proceed.
Step 4 : Set your location to ensure that Nest will give you up to date time and weather for your area.
Step 5 : It will then search for the location and will ask for you to confirm the location.
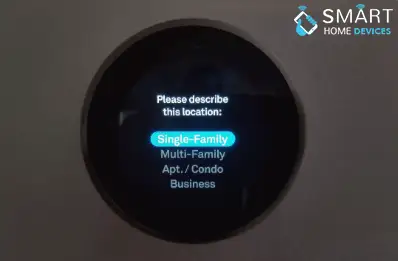
Step 6 : Next, Nest will ask for the kind of dwelling it is installed in. Select single-family, multi-family, Apt/Condo or Business following that, press the face button.
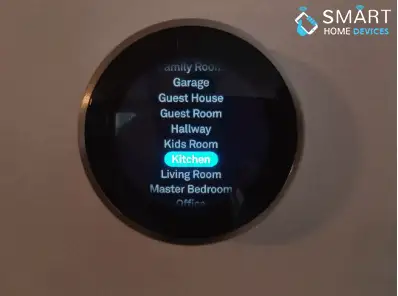
Step 7 : Select in which room the Nest is in.
Step 8 : Confirm the following and again it will ask you if you are the homeowner or professional installer. Select Homeowner if you are not a professional installer.
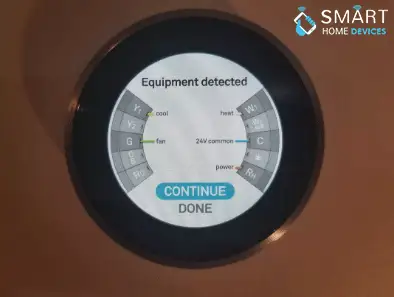
Step 9 : A wiring diagram will appear on the screen and will ask you to press on the face button to proceed to the next step. If anything in the diagram seems off then there might be a possibility that any wire isn’t connected properly. The next you have to do is take off the Nest mount and check the wires to resolve the issue.
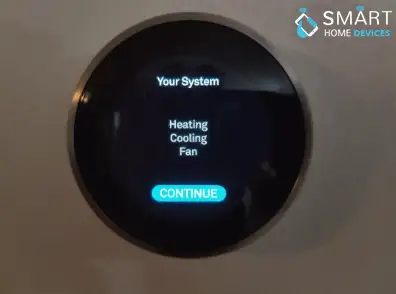
Step 10 : The Nest will ask you about what kind of system you have. Check for it and if everything is right then press continues to proceed.
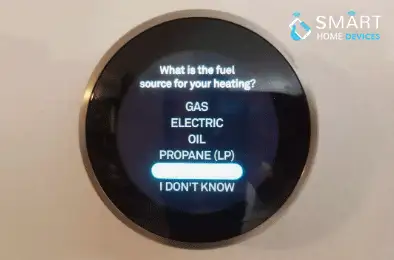
Step 11 : It will then ask you about the fuel source of your heating system. Select gas, electric, oil, propane, geothermal or I don’t know. The last question will appear on your screen asking about the type of heat you use. Select forced air, in-floor radiant, radiators or more info.
Step 12 : Nest will ask for permission, to begin with, heating or cooling. Then obviously it will depend on the weather. If it’s summer season then starts with cooling.
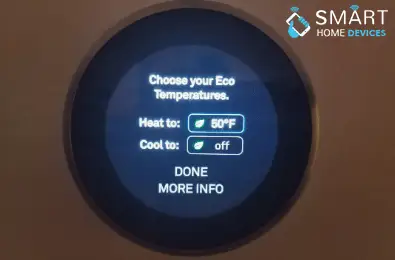
Step 13 : Next, select on your eco temperature preferences. These are essentially the temperature thresholds the Nest will use when no one is home. In other words, unless the temperature in the house goes above the cooling or below the heating thresholds you set here; it won’t use the HVAC system at all.
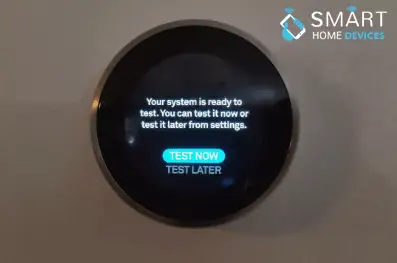
Step 14 : Select the system test, from the main setup menu. The thermostat is now configured and ensures that everything is set. You get the option to not run the test yet it will be better if you take some time to run the test and test every part of the device i.e. heating, cooling and the fan. Once you complete the process, press on done.
We studied on how to set up a Nest Learning Thermostat, now it’s time to learn how to use Nest smart thermostat with the Nest app.
Step 1 : Go to the app and tap on the + button to add your device to the app and tap on Next after you name it.
Step 2 : Enter your address and tell the app if you want to utilize its geofencing abilities. Geofencing means the app uses the phone’s location to know if you’re home or away and also allows for some neat tricks, like making sure the house will be at just the right temperature by the time you get home.
Step 3 : Tap on Add once it’s done.
Step 4 : The app will ask you to scan the QR code on the back of the thermostat. If you don’t want to do the same then proceed by tapping on continue without scanning.
Step 5 : The list of products you are installing will appear on the screen. if you have already installed it then press Enter.
Step 6 : The Nest will let you know that the connection is attached to your account. Follow the on-screen instructions to proceed and then tap on Finish to set the options.
Step 7 : The main screen of the Nest will appear. Adjust the dial in order to set the preferred temperature.
We hope the above guide helped you to set up a Nest Learning Thermostat on your own.
 Related Blogs
How to Set Up and Use Your Nest Learning Thermostat?
How to Set Your Nest Thermostat Schedule?
What are Eco Temperatures on a Nest Thermostat?
How to Connect a Nest Thermostat to Google Home?
How to Set up a Nest Learning Thermostat?
How can I Change the Owner of Nest Camera?
How To Fix Nest Error E195? - Nest Thermostat
© 2026 SmartDevicesHelp.com. All Rights Reserved.
Top Searches in nest thermostat