We never consider thermostat as so important, although they play a major part in comforting us and lowering down the energy bills. We much ignore them like the other utilities, water heater and trash compactor. Many times, we set the thermostat and continue with our life routine.
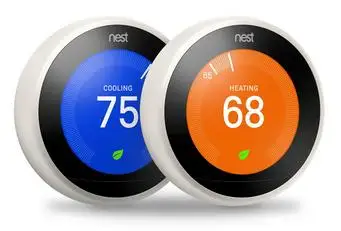
The Nest Learning Thermostat is aimed to change the usage of heating and cooling technologies at our home. Yes, we can say that it has a perfect design fit for the gadget lovers. Three years after its initial launch, Google now sells the sleek and low profile version of the original thermostat. But the question is how to Set Up and Use Your Nest Learning Thermostat?
Along with ease of installation and maintenance, Nest offers some intelligence features like it remembers your temperature preferences for different time instants throughout the day. The program is developed to create a personalized schedule.
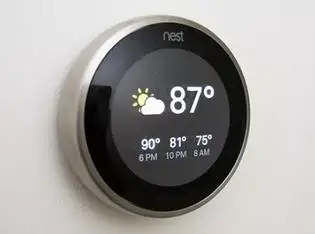
Modern thermostat without Internet capabilities is totally a non-functional box. Therefore, Nest offers a one-time setup using your Wi-Fi. With the connectivity feature, you can remotely adjust thermostat temperature using any smartphone or web browser via system.
Ultimately, the Nest thermostat help you cut heating and cooling costs. Easily target to save energy and reduce your electric bills with Nest. This guide helps you to Set Up and Use Your Nest Learning Thermostat. So, here you go to configure your smart, new thermostat.
Assuming that you already have a heating/cooling wall unit and not installing any new system. The first thing is to disable the power to your system and thermostat before touching any wiring. The different kind of HVAC setup contain varying number of breakers. Turn them off before proceeding ahead.
Confirm whether the power is off or not, modify the temperature point of your current thermostat and wait for five minutes. The system should not be active and then continue with the installation process.
Once you are sure that the power is cut off, remove the cover on your existing thermostat. Understand and take a snap of the existing wiring for future reference. Ensure that the new system is compatible with Nest using the Nest’s compatibility guide.
When you get ready to proceed, the next step is to remove the cables from the existing thermostat.
Note: Nest Thermostat doesn’t use jumper wires which are usually short wires between two connectors. Place the jumper cables and the photo of your existing wiring in a safe place.
This way you can disconnect the wires and remove the base from your old thermostat. Wrap the wires around a pen or pencil after removing the thermostat.
When you start installing a Nest Learning Thermostat, ensure that you use a bubble level to position the device correctly on the wall. Secondly, attach the Nest base to the wall. In case you use optional trim plate, ensure to place it on the wall before installing the Nest base.
Connect the wires as per wiring diagram after levelling the Nest base. Press the connector button inside until the wire goes in. Release the button as the wires set inside. If the button pops out, readjust the wire.
Finally, connect the base to the Nest display and power up your new Nest Learning Thermostat for the first time.
Setting up the software for the Nest Learning Thermostat is easy as answering questions about your smart home via device display.
Turn the ring around the device to left or right and check the different options on the Nest Learning Thermostat. Press the ring to select an option. Nest requires data about:
Create your own new online Nest Account using iOS or Android Nest app. By doing this, you can control and manage Nest settings from your phone. You can even lock the thermostat temperature so that it can be modified by others.
Further, for using the thermostat, you have to add your Nest Learning Thermostat to your Nest account. Get the Entry Key from the device and then add that key to the Nest app. Open the quick view menu by pushing the device ring and select the Settings. Now everything is ready.
Hope this simple guide to Set Up and Use Your Nest Learning Thermostat for automatic heating and cooling tasks is useful.
 Related Blogs
How to Set Up and Use Your Nest Learning Thermostat?
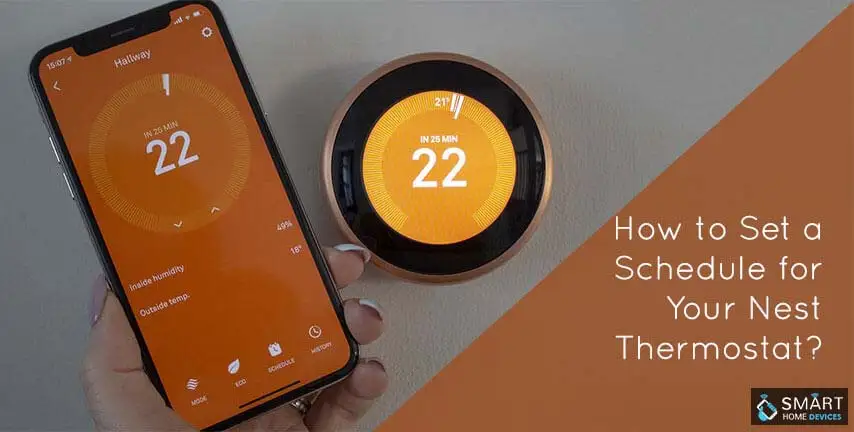
How to Set Your Nest Thermostat Schedule?
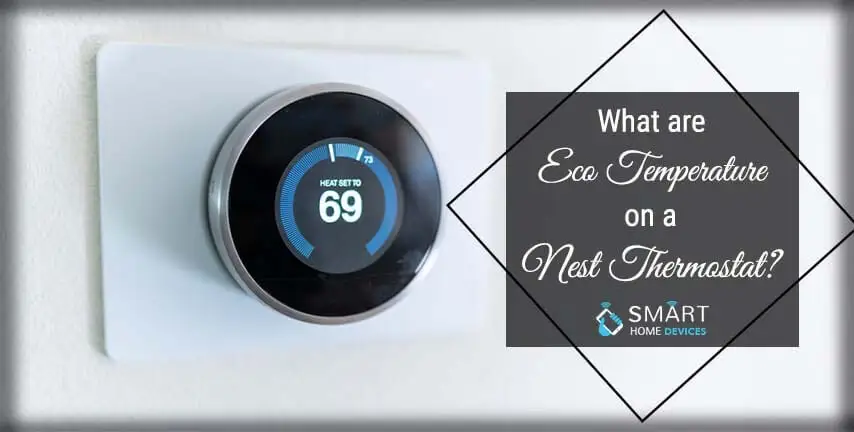
What are Eco Temperatures on a Nest Thermostat?
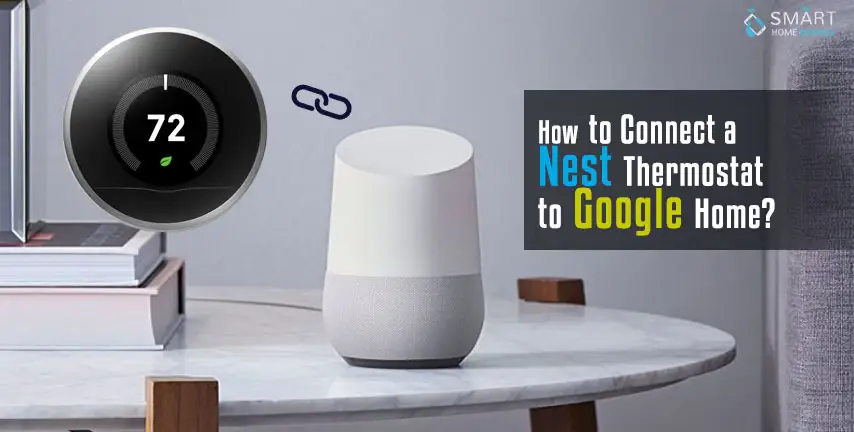
How to Connect a Nest Thermostat to Google Home?
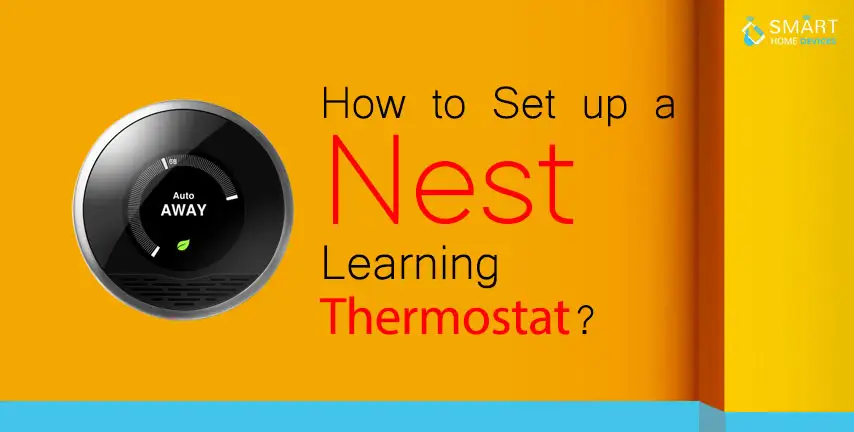
How to Set up a Nest Learning Thermostat?
How can I Change the Owner of Nest Camera?
How To Fix Nest Error E195? - Nest Thermostat
© 2026 SmartDevicesHelp.com. All Rights Reserved.
Top Searches in nest thermostat