Before you proceed with the installation of the Skybell doorbell for which you are going to need Skybell doorbell setup support, there is a pre-installation process that you are bound to follow.
The checklist includes doorbell chime check. One main thing about SkyBell is that it only works with doorbell chimes, which are mechanical. If you will use intercom system or wireless chimes, then in such a case SkyBell is not going to work.
Before you acquire SkyBell doorbell installation support from us to install your Skybell doorbell, there are certain things that you can do, such as testing the Wi-Fi speed.The minimum upload speed required by skybell is 1.5 mbps.
It is important for you to check the signal strength of your wireless network. If you are not able to receive required signal strength on the front door, then either replace your wireless extender or bring the existing one near to your door. If you need SkyBell doorbell setup support in this case, then you can take assistance from our team of smart devices help.
It is important for you to ensure that the your doorbell is receiving the current in right amount. You can check this through the use of a voltmeter. Test the leads on the terminals and on the front door. The skybell doorbell is designed in such a manner that it can only be used at secondary power. It will only work in proper condition if the doorbell is digital. Before you begin with SkyBell doorbell installation support, it is important for you to consider the point of transformer check.
Router check is another point included in the pre-installation checklist. If you want your Skybell to work in a proper manner, then this is an important point to be taken into consideration. This device is only compatible with wireless standard of 2.4 ghz. Check your router and ensure that it is 2.4 ghz. If it is a dual band router, then you must create a separate SSID.
Now, link your mobile phone with the channel and then go ahead with syncing SkyBell. All this is required to be done prior to SkyBell setup and install support.
Step 1 : First of all, you must take care of the fact that you should not install SkyBell if your door or area near the door is wet.
Step 2 : You must not move forward with the installation process in wet conditions. Also, it is important for you to remember that Skybell can only get attached to a transformer with low voltage. This is so, because it does not directly get connected to the primary power.
Step 3 : In case you are not using a doorbell chime, then you must use a10 watt resistor between the wire coming out of the power source and SkyBell.
Step 4 : Take out the doorbell that you are using currently.
Step 5 : Create a screw baseplate.
Step 6 : Now, by taking the assistance of SkyBell doorbell setup support attach all the wires of Skybell to the doorbell wires at your home by using a connector. In case you do not have the doorbell chime, then a resistor can be used.
Step 7 : Now, set the devices on the mounting plate and ensure that the SkyBell doorbell is flushed to the wall.
Step 8 : Now, in the last step you will require SkyBell doorbell setup and installation support, put the locking tool in a little hole placed at the bottom of the device.
 Related Blogs
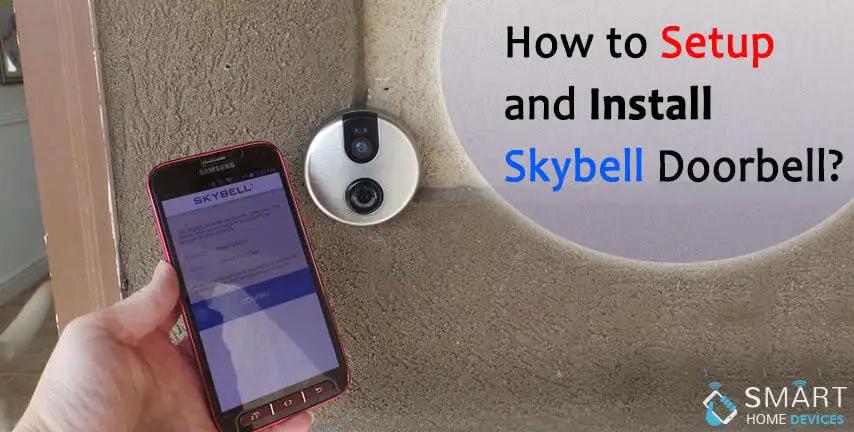
How to Setup and Install SkyBell Doorbell?

How to Setup and Install SkyBell Video Doorbell?
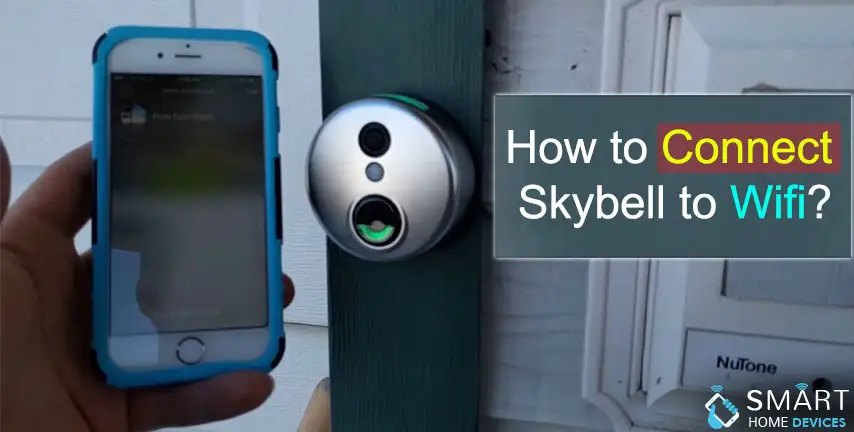
How to Connect Skybell to Wi-Fi?
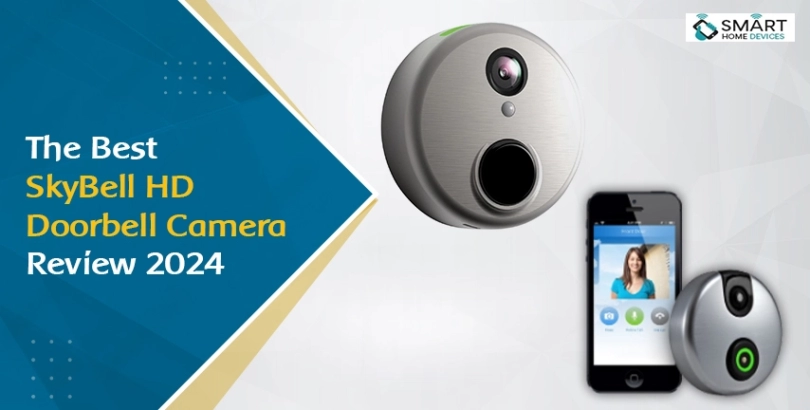
The Best SkyBell HD Doorbell Camera Review 2026
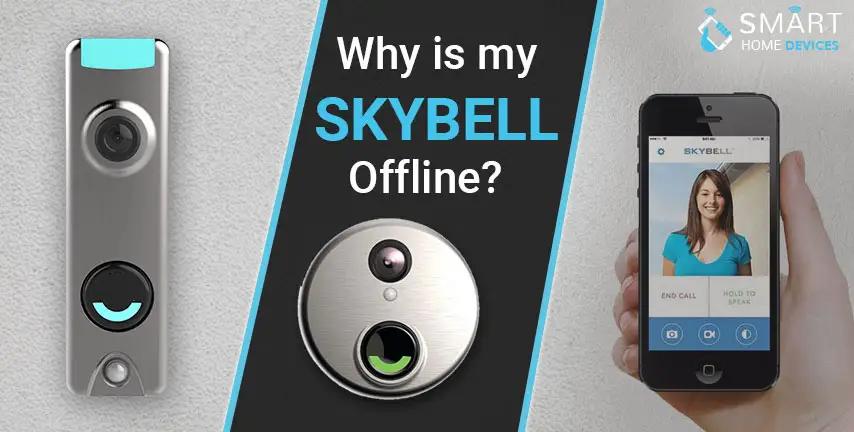
Why is My Skybell Doorbell Offline?
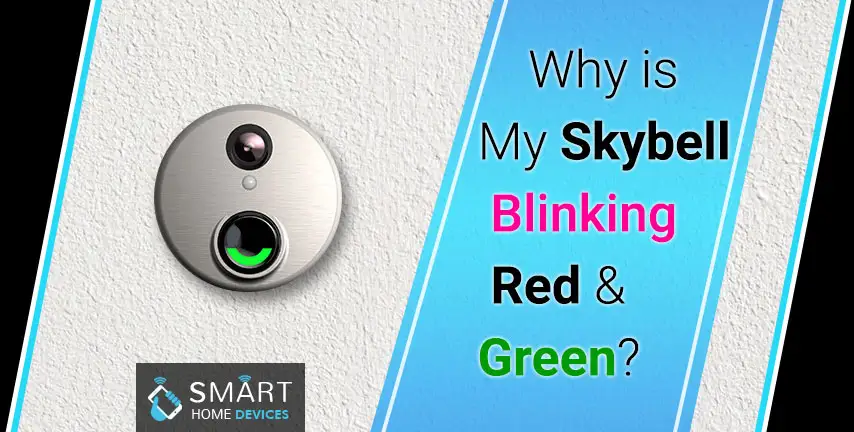
Why is My Skybell Blinking Red and Green?
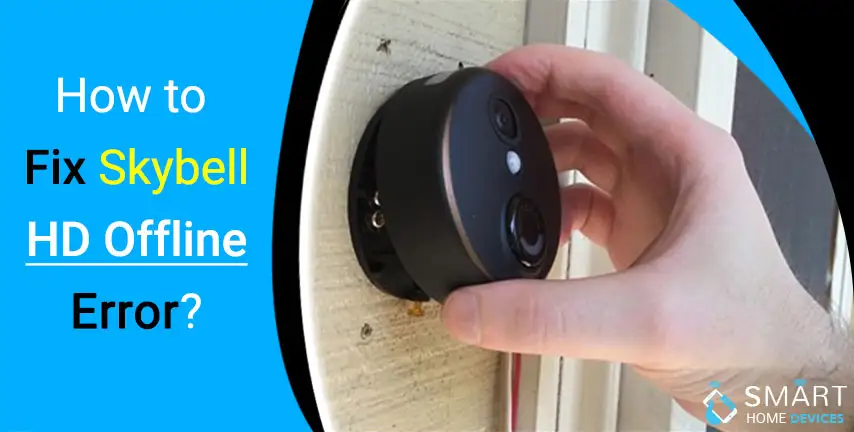
How to Fix Skybell HD Offline Error?
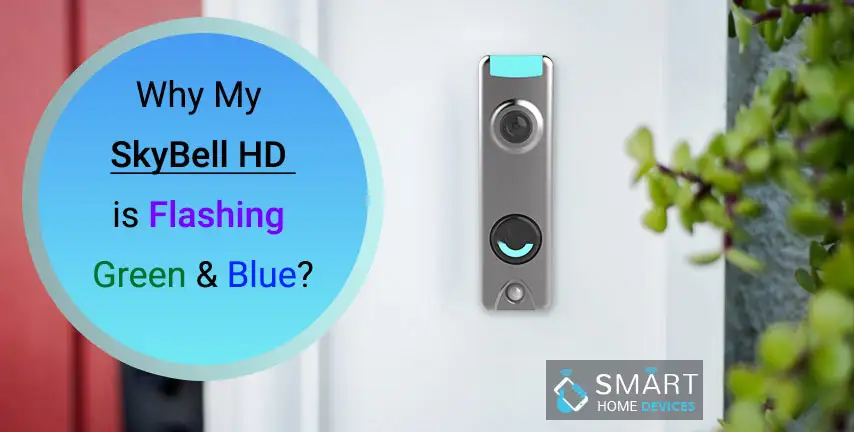
My SkyBell HD is Flashing Green and Blue?
© 2026 SmartDevicesHelp.com. All Rights Reserved.
Top Searches in skybell doorbell