SkyBell video doorbell is an advanced and smart doorbell for your home or workstation which enables you to take a look at the visitor at your doorstep without even opening the door. You can also watch and talk to your visitor with the help of your smartphone. It is similar to ring doorbell with one difference that it can also be attached with the existing wiring of your previous doorbell where as ring doorbell has its own internal battery to support the power unit.

You can use simple voice commands by configuring it to alexa, Amazon Echo or Echo Dot for more convenience. This wi fi enabled doorbell lets you answer visitors at your door with your smartphone or tablet – all the convenience of using your mobile device to see, hear, and speak with whomever is at your door even when you are not at home.
Our content will help you in the pre-installation, power configuration,installation and syncing process of your SkyBell video doorbell. You can follow our content to setup SkyBell video doorbell at your doorstep. If you have not dealt with wires anytime before, we consider you to take assistance from a specialist or technician for instant and reliable setup.
Before you start the installation process, you have to work on the pre-installation checklist which includes three important functionalities. Existing doorbell wiring, Doorbell chime type and Internet upload speed. We will discuss all the functionalities briefly to describe this process.

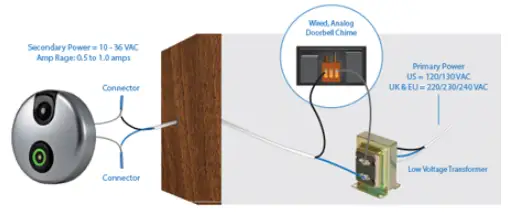
It is necessary to check the power configuration before jumping to installation process. Your SkyBell video doorbell should be configured with one of the power configuration listed below;
Configuration of low voltage transformer with mechanical door chime.
Configuration of low voltage transformer with digital door chime including one adapter.
Without a door chime - Low voltage transformer (10-36 VAC 10 VA) with 10 OHM/10 WATT RESISTOR inserted between one wire from your SkyBell video doorbell and other wire from the power source.
Hold the mounting plate that came with your SkyBell video doorbell and make a mark with any marker or pencil on the exterior of your house where you need to mount the skybell.
You need to insert the two wires between the center of your mounting plate.
You have to secure the mounting wall plate with its own two screws which will act as a conductor when the wires are connected with it.
After attaching the two wires with the screws, you need to make sure that the wires aren’t touching each other at the point of fixation. It doesn't matter if the wire is involved with any particular screw or not.
Now, gently curl the wires of SkyBell doorbell with the existing wires of your home doorbell.
Infix both the wires together into a blue wire connector and push until it reaches the end of wire connector.
Repeat the above process for the other two wires.
After this process, carefully grab your SkyBell video doorbell and place it on the top of the mounted plate.
You need to insert the locking tool and tighten the screw of the the rest of sky doorbell placed on the mounted plate .
Fasten the set screw in the middle of the bottom of sky doorbell. This will help to lock the SkyBell properly into place.
After it has been placed properly, please note that the red led lights are blinking or not.
If the red light is blinking, it means you have a successful configuration of your doorbell. If not, something is wrong.
However if the red light is blinking slow, it means the battery is not fully charged. You need to charge the battery for at least 10 minutes for its proper functioning.
The installation process is now complete.
We will now describe the manual setup of syncing process of your skyBell doorbell with your wifi router and smartphone. This section is divided into two parts;
Things you need - Smartphone enabled with iOS and android, username and password of your wi fi network and activation code of the SkyBell doorbell.
Process of syncing - This process is further divided into three categories. We will discuss all the three categories to provide readers with the detailed description, step by step of this process.
Download the SkyBell doorbell app from iOS store (Apple users) and playstore (Android users). When you arrive at the home screen of the app, create an account and provide the mandatory credentials. Now, sign out of your account after noting the login credentials. Now, sign in in you account once again with the created login credentials.
Your SkyBell doorbell will automatically go into sync mode if your battery is completely charged. It can be detected that the device is in the sync mode if the red led light of SkyBell flashes at the rate of once per second. However you can manually put the device in sync mode by pressing the main button for 20 seconds.
You will need your wifi password and login credentials of SkyBell doorbell device. Now open the SkyBell app and tap in to follow the onscreen instructions which will start with “Add new device” or “Add SkyBell device”. After successfully follow the onscreen instructions with the accurate credentials, the process of syncing will be complete.
The process will be successful if you see a screen on your smartphone asking to name your SkyBell device. The led lights will also turn from blinking red to turning off and then switching to a blinking or solid green. SkyBell will automatically download the compatible firmware after the process is complete and successful. However if only red led light is blinking after a successful syncing process, it means that the device has run out of a secured internet connection.
 Related Blogs
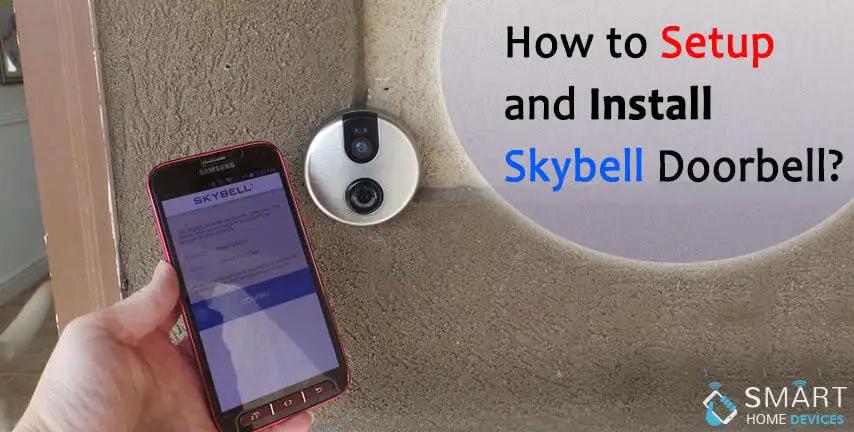
How to Setup and Install SkyBell Doorbell?

How to Setup and Install SkyBell Video Doorbell?
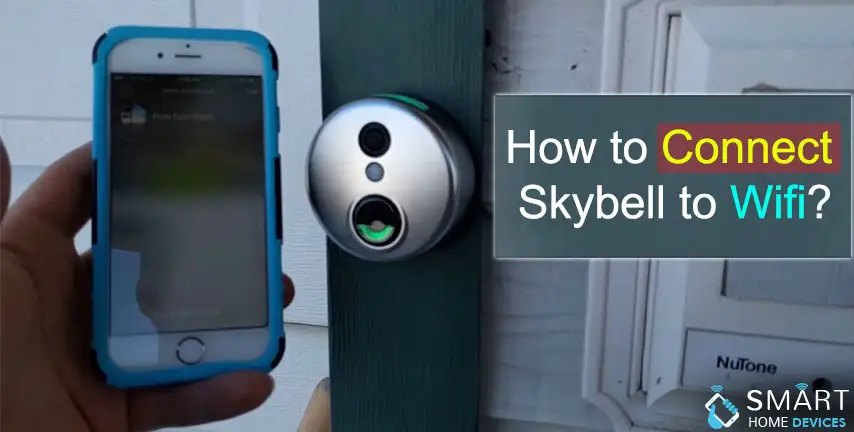
How to Connect Skybell to Wi-Fi?
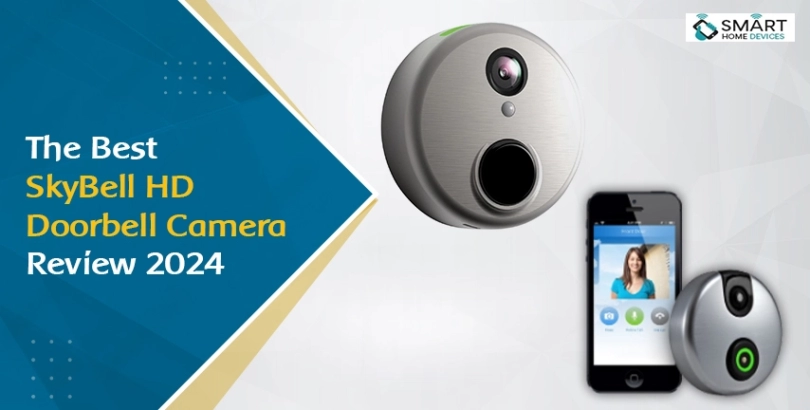
The Best SkyBell HD Doorbell Camera Review 2026
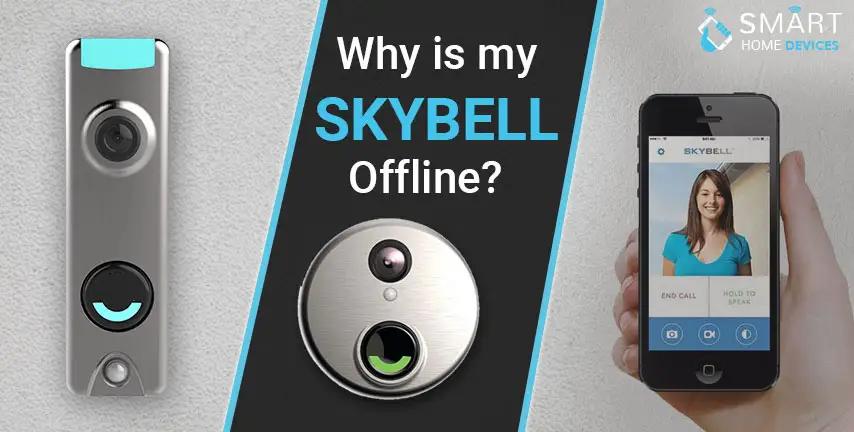
Why is My Skybell Doorbell Offline?
Why is My Skybell Blinking Red and Green?
How to Fix Skybell HD Offline Error?
My SkyBell HD is Flashing Green and Blue?
© 2026 SmartDevicesHelp.com. All Rights Reserved.
Top Searches in skybell doorbell