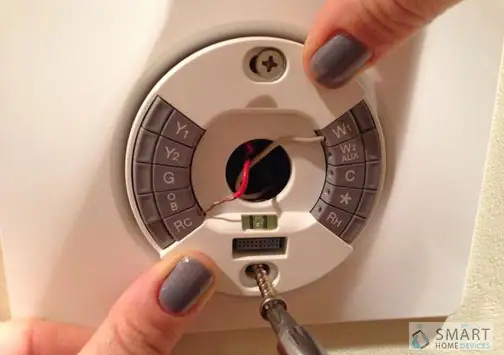
If you’ve just hook up your Nest thermostat or if you’ve reconfigured it to default mode, you’ll need to finish the installation interview. Your thermostat will enquire a few basic queries about your home and your heating and cooling systems.
The same goes for, 1st gen Nest Learning Thermostat, 3rd gen Nest Learning Thermostat, 2nd gen Nest Learning Thermostat, Nest Thermostat E.
Your Nest thermostat will provide you with a direction to tackle through a series of easy questions regarding your home, what temperatures you prefer, and your heating and cooling process.
Your Nest thermostat will utilize this information to assist you in keeping you cozy and will assist in harnessing your energy. Switch on your thermostat ring to highlight various options and switch on the ring to opt for one.
Choose the language that your Nest thermostat will show the text. Your thermostat will also select a time system on basis of the language you choose. For instance, if you select English (US) you’ll get 12-hour format.
In case you choose English (UK) you’ll get 24-hour time format. You can alter your language at any time by going to the Settings through the Language menu.

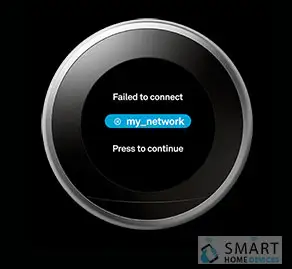
Choose your network name from the record of available networks. You may need to wait for some time while the scans of your Nest thermostat are available for networks.
You don’t need to establish a connection between your thermostat and the internet for heating or cooling your home, but you attain a key to access all the characteristics of your thermostat. Open this link to learn more about characteristics that are only available if you establish a connection to Wifi.
If you need to enter your password, turn on the thermostat ring for highlighting a letter, number or symbol and press the ring to select it. By using Shift to toggle between additional symbols (* ` ?), lowercase letters (abc), uppercase letters (ABC), punctuation (123), numbers.
Utilize the backspace icon if you have committed a mistake and require to delete it. Choose the checkmark once you’ve typed in your password correctly.
Your Nest thermostat utilizes your location for updating the date and time and attain local weather details. If it’s connected to Wifi your Nest thermostat will try to guess your location. If it’s not correct you can type in the appropriate location here. If you did not connect to Wi-FI you’ll need to type in your location, country, time zone, and date.
Further, select your home type and your Nest thermostat will behave a little differently if it’s in usage. Choose which room your thermostat is in. You can select names such as a hallway or bedroom. You can also enter your own room name if the room you want isn’t vacant.
If you have hook up your Nest thermostat yourself, choose the homeowner to answer some questions regarding the heating and cooling system.
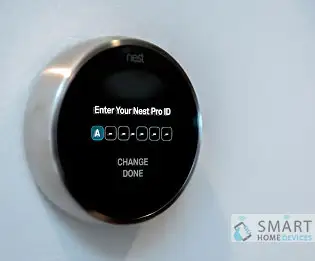
If you bought your thermostat from a Nest Pro, your installer will select Nest Pro and type in their Nest Pro ID. Your Pro installer will need to finish this step during installation in order to activate your Extended Pro Warranty.
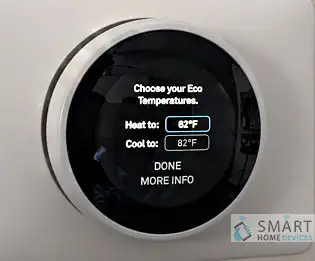
Instruct your Nest thermostat if it shall begin by warming up or cooling your home. Then, select your Eco Temperatures.
Your thermostat can utilize Home/Away Assist to know when you exit and instinctively alter your thermostat to your Eco Temperatures for assisting you in conserving energy. Utilize the Nest Leaf as a guide for selecting your Eco Temperatures that can assist you in saving energy.
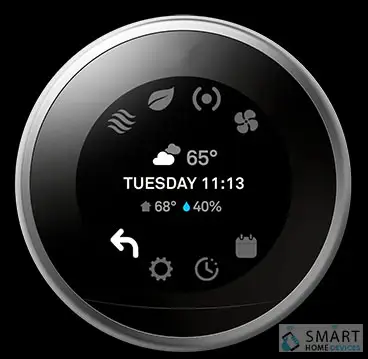
After delivering answers to all the queries you should check your system. You can use System Test to ensure that your system works properly.
You can also check your system again at any later point by going to Settings in the Equipment Menu.
After checking your system, establish a connection between your Nest thermostat to the Nest app so you can manage it with your phone, and conserve your energy history.
During the hook up of your Nest Thermostat E, you’ll require to select what kind of schedule you wish your thermostat shall use from below options-
 Related Blogs
How to Install Nest Hello Video Doorbell?
How to Fix Nest Talk and Listen Not Working?
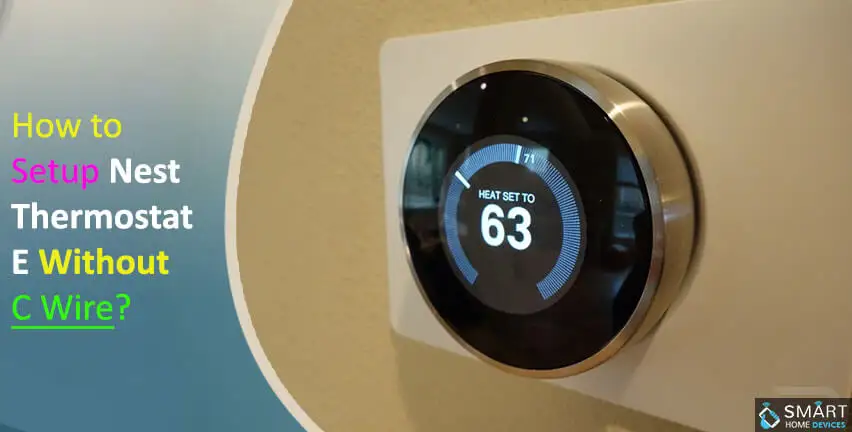
How to Set up Nest Thermostat E Without C Wire?
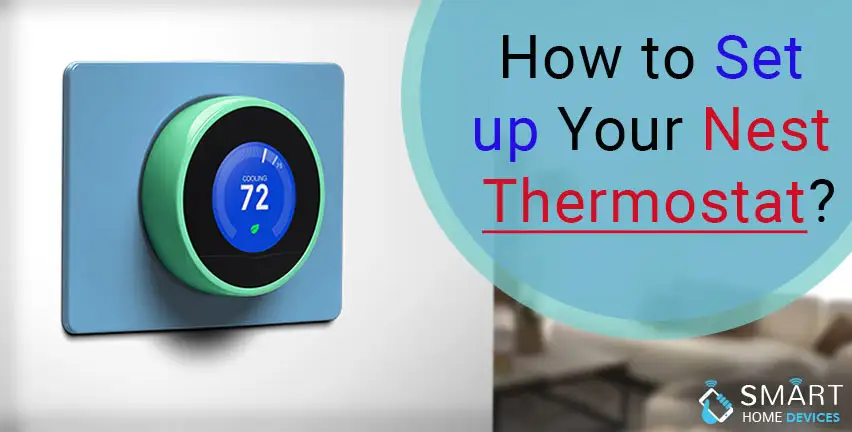
How to Hook up the Nest Thermostat?
Why is Nest Camera Blinking Green Led Lights?
What to Do if My Nest Thermostat Goes Offline?
How to Setup WiFi on Nest Camera?
© 2026 SmartDevicesHelp.com. All Rights Reserved.
Top Searches in nest hello doorbell