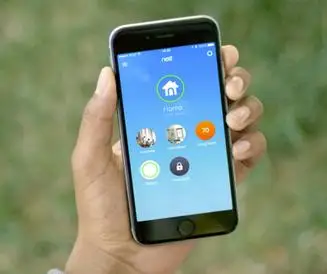
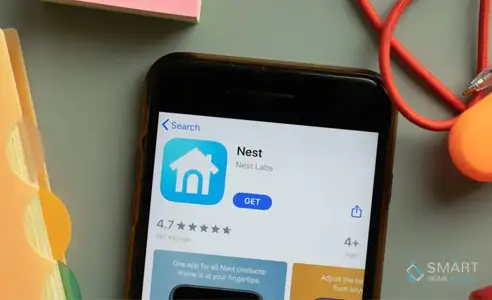
If you are looking forward to knowing how you can connect your camera to the Nest app and install it, then this article is exactly what you need to read. Follow the procedure given below if you are setting up your Nest camera for the first time or if you have deleted the Nest camera from the app and you wish to add it back again.
The setup process is very easy. All you have to do is to follow the step-by-step guide on the app. Please ensure that you connect the camera to the Nest application first and then install it.

Note: Save your entry key and serial number in a document offline or use services like dropbox or Google drive for storing it. Maintaining a record of these numbers can help you a lot at the time of troubleshooting.
After that, you will be required to select the name of the location from the list. You can also manually enter the location name by tapping on Custom given at the bottom.
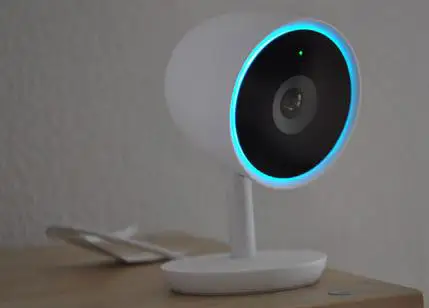
Connect the power wire of the camera to the electrical outlet. If a pulse blue colored light starts glowing, then that means your smart device is receiving power.
The application will start searching for the available wireless networks in the nearby location. Select your wireless network. In case the name of your network is not listed in the list of networks or any error comes up, then use troubleshooting solutions to get rid of such an error.
Important: If you are already using a Nest product at your home, then the Nest application may use it to connect your camera to the wireless network. If you are having any connection issues, then try to bring your Nest camera close to the other Nest product.
As we discussed above, every camera is installed in a different manner. Assemble all the material that is required for mounting the camera such as drill, tools, routing cables, etc.
Choose the type of camera that you want to install and follow the directions given on the Nest app for installing the camera.
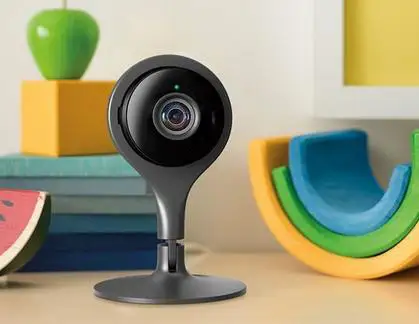
You can place your Nest camera on a table, countertop, or a shelf. You don’t even need to use the mounting plate if you install your camera using this method. All you have to do it is to put it on a platform surface and test the video streaming. If you are experiencing problems in streaming the video, then move it to some other place to obtain improved signal strength.
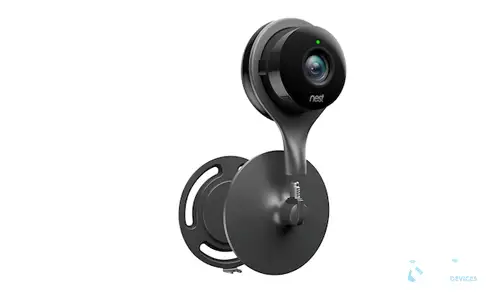
A powerful magnet is placed on the base of your Nest camera. This allows the camera to attach itself to a metallic surface. There is no need to use mounting plate or make holes for installing the camera using this method.
Just attach your Nest camera to a file cabinet, refrigerator or some other metal object. It is advisable not to attach this camera to the computer system as it can cause severe damage. After that, test video streaming.
If you are not able to watch a video on your Nest camera, then that may be because your camera is not receiving the signal. Try placing your camera close to the Wi-Fi.

Mentioned-below is the steps that you need to perform to install the Nest camera on the ceiling or wall.
Step 1: Please ensure that the location that you have selected is close to the power source. Plugin the power wire of the camera and hold the camera in the position where you want to mount it.
Step 2: Now, test the video streaming, if everything is fine then proceed with the installation. If you are facing wireless connection problems, then install your camera in some other location where signal strength is good.
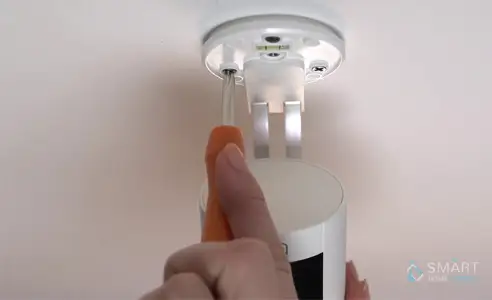
Step 3: Then, hold the plate against the ceiling or wall and add screws to it by making holes in the wall. Hand tightens it by using a screwdriver. This will securely install the mounting plate and will also prevent over-tightening.
Step 4: Stick the camera on the plate. The earth magnet will hold it in a secure manner.
Step 5: Watch the Livestream video of your Nest camera on the Nest app and make adjustments if required.
 Related Blogs
How to Install Nest Hello Video Doorbell?
How to Fix Nest Talk and Listen Not Working?
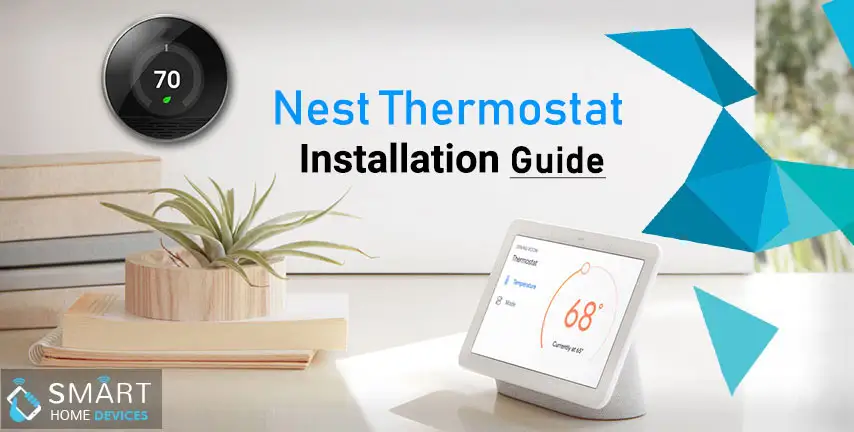
How to Set up Nest Thermostat E Without C Wire?
How to Hook up the Nest Thermostat?
Why is Nest Camera Blinking Green Led Lights?
What to Do if My Nest Thermostat Goes Offline?
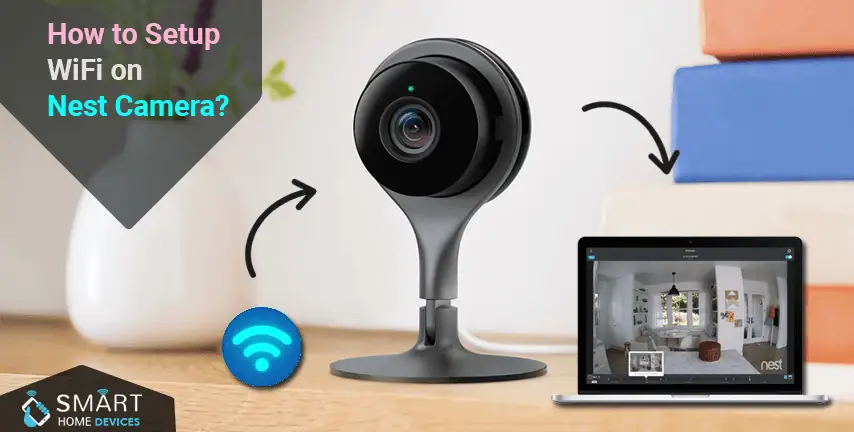
How to Setup WiFi on Nest Camera?
© 2026 SmartDevicesHelp.com. All Rights Reserved.
Top Searches in nest hello doorbell