If you are looking forward to knowing how to setup the Nest Thermostat E without c wire, then these are some of the steps that you are required to follow.
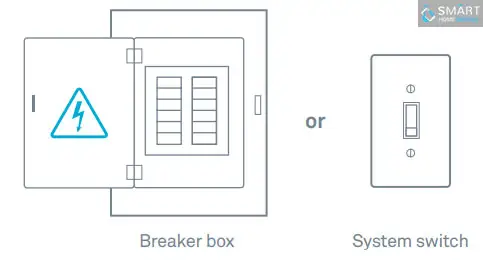
This protects you as well as prevents equipment from being fused out. Please ensure that the thermostat is turned off and increase or decrease the temperature of your present thermostat and wait for the next 5 minutes to make sure that the system does not get turned on.
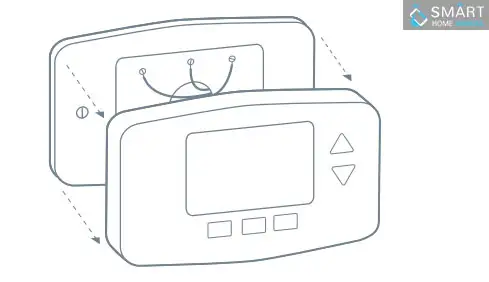
Covers of some thermostats tear off and on the the other hand it needs to get unscrewed. Old thermostats also have a second plate that needs to be taken off or removed so that it can expose the wires.
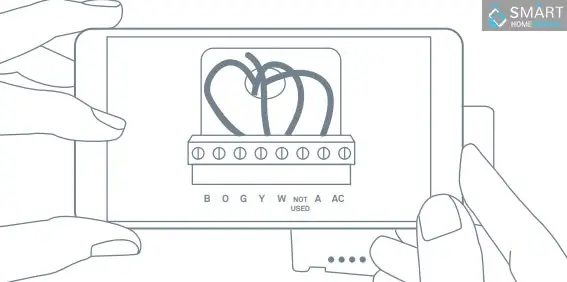
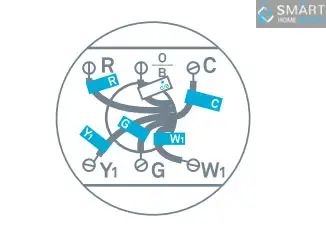
In the next step to install the Nest Thermostat , click the pictures of the wires of your thermostat and keep it safe for later use. Also, you need to ensure that you can read the wire label terminals.
In case you have not tested the compatibility of the wires of your thermostat, then you must do so by going to the nest.com/works website.
If you find that your system is compatible, then you will get to see a custom diagram, which you will require for installing the Nest Thermostat. Either take a print out or e-mail it to yourself.
If you are using the standard wires, then you must know that they are not compatible with the Nest Thermostat. So, they will not be helpful when you install the Nest Thermostat.
If 120v or 240v is written or labelled on your thermostat or its wires have wire nuts. If it has L2 or L1 terminal blocks, then your system’s voltage is high and not compatible with Nest thermostat.
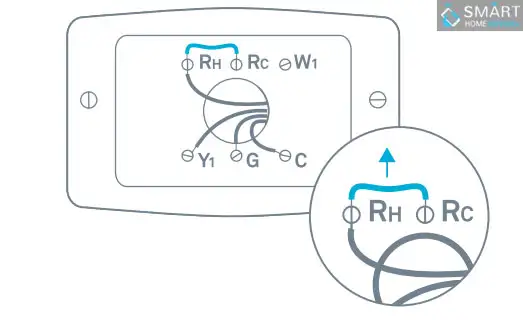
Jumper wires are short in size and are used for connecting two connectors. You don’t need jumpers if you are using a Nest Thermostat. In case the thermostat has jumpers, then you need to remove it. Also, you can save them so that you can use them together with your old thermostat.
In the next step to set up the Nest Thermostat E, take off the labels and stick them with the matching wires of the thermostat.
Once you have removed the base of your thermostat, then you need to wrap up the wires around a pencil or pen so that it does not fall back in the wall’s hole.
Use a Trim Plate if Required
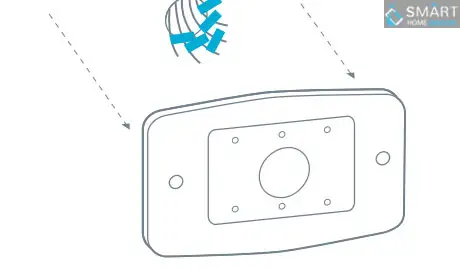
In case you don’t wish to paint the marks that were created by your old thermostat, then you can make use of a trim plate. Snap the trim plate and the thermostat base together and then screw them in the wall. If you have and electrical box, then you will also have to buy a steel plate along with it to install the Nest Thermostat. Place the steel plate using the screws in the electrical box. After that, use other two screws for attaching the trim plate and Nest base.
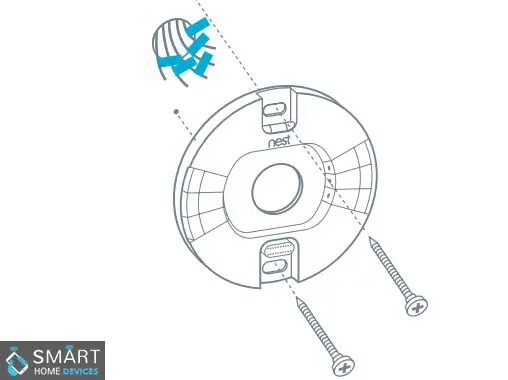
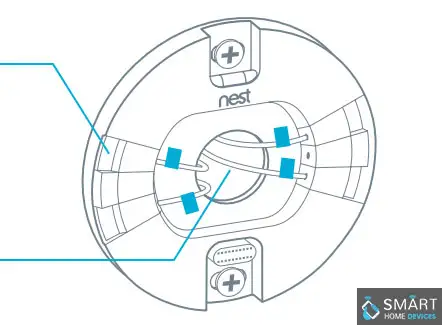
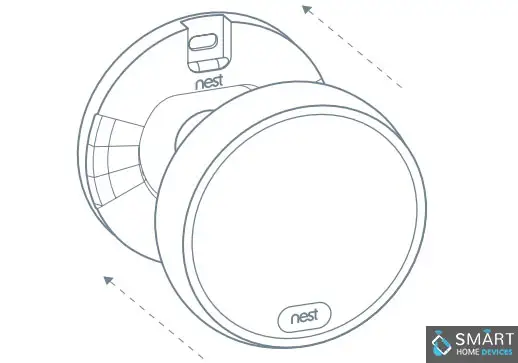
Take the wires out of the base’s centre and attach it to the walls with screws. After that, you need to connect the wires. Take a look at the wiring diagram that you saved from the compatibility checker. Tug every wire gently and make sure that they are secure. Also, ensure that every connector has a wire and stays down. Once all the wires are properly connected, push them downwards to ensure that they flush with the base.
Push the display on the base and wait for it to click. Turn the power on once again.
The thermostat will then get turned on and will help you in completing the setup procedure. You can first select the language and then connect to the wireless network and say some things about your system and house. This will help in saving the energy while you learn how to setup the Nest Thermostat.
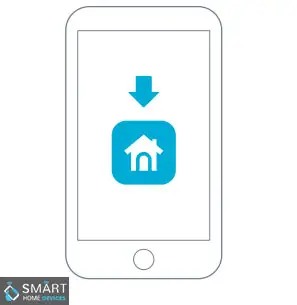
Download the Nest application for free, so that you can easily control your thermostat by using the Nest application on your smartphone. You will also get a monthly report on your smartphone that will display all the energy use in front of you. You can also download this application from Google Play or App store. You also have a choice to go to home.nest.com if you do not have a smartphone or mobile phone in hand.
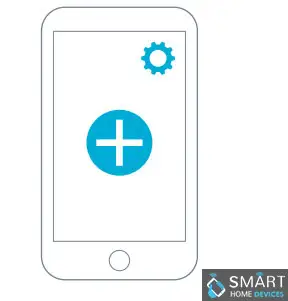
In case you have never used a Nest application on your phone, then tap on the plus sign on the home screen of your application. After that, you need to select Nest thermostat. In case, there are Nest products present in your account already, then all you need to do is to select the icon of settings and then click on thermostat. The application will help you learn how you can add thermostat to your Nest account.
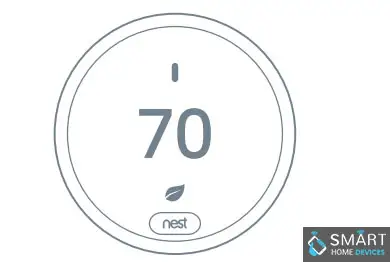
The thermostat will understand the schedule automatically. You can also select the schedule by presetting temperature and time. After that, you can make changes in the schedule at any point of time.
So, this is how you can install the Nest thermostat.
 Related Blogs
How to Install Nest Hello Video Doorbell?
How to Fix Nest Talk and Listen Not Working?
How to Set up Nest Thermostat E Without C Wire?
How to Hook up the Nest Thermostat?
Why is Nest Camera Blinking Green Led Lights?
What to Do if My Nest Thermostat Goes Offline?
How to Setup WiFi on Nest Camera?
© 2026 SmartDevicesHelp.com. All Rights Reserved.
Top Searches in nest hello doorbell