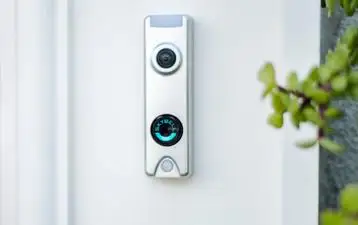
Like every other SkyBell product, trim plus has 1080p video resolution, night vision, and allows its users to record the videos on cloud without paying any monthly charges. Additionally, this Wi-Fi video doorbell is rain and weather proof and has motion detection alerts. Plus, it allows you to have a two-way communication with the person who arrives at your doorstep.
This smart home device comes in two different colors i.e. oil-rubbed bronze and silver. What makes SkyBell Trim plus different from other SkyBell trim plus doorbells is its optional battery backup and small design. These two unique features of the SkyBell trim plus have received a lot of appreciation from the users.
Step 1 : First of all, you need to check the signal strength in the area where you are thinking of installing the doorbell.
Your SkyBell Trim Plus device will only function properly in a place where it is receiving excellent signal strength. Use AR Signal Master app to check the wireless connection strength. In case the doorbell is receiving poor wireless signal, then you should use wireless repeater to boost the signal strength.
Step 2 : Now, you need to see whether your doorbell is digital or mechanical. If your doorbell has striker rods, then you will not require the use of adapter that came in the kit along with the doorbell.
Step 3 : Remove the old doorbell switch and ensure that none of the wires touch one another after uninstalling the former one.
Step 4 : Check that the present wires are receiving 8-36 volts of alternate current power through a voltmeter.
Step 5 : Mark the location of screw holes by positioning the base plate on the wall.
Step 6 : If you are mounting the doorbell on a wall made of brick or concrete, then make holes using masonry drill bit. In case, you are installing the doorbell on some other kind of wall, then use the driller appropriate for making holes in such wall.
Step 7 : Now, install the screw anchors for installing the base plate.
Step 8 : Secure the baseplate and ensure that wires don’t touch one another.
Step 9 : Now, connect the wires to the screws.
Step 10 : Install the doorbell and secure it by using the screwdriver to tighten the screws at the bottom.
Step 11 : Charge the Skywell Trim Plus doorbell for 10 minutes before you move ahead with the setup on your mobile phone. Continue with the setup on your Android or iOS smartphone when you see red and green light flashing on your doorbell.
 Related Blogs
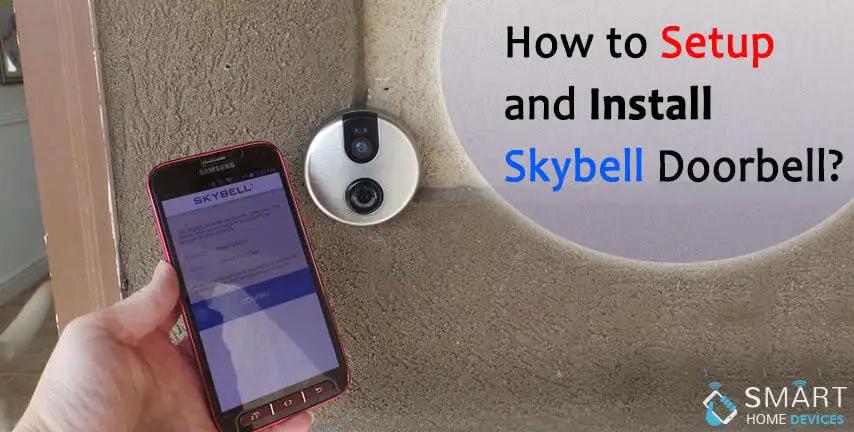
How to Setup and Install SkyBell Doorbell?

How to Setup and Install SkyBell Video Doorbell?
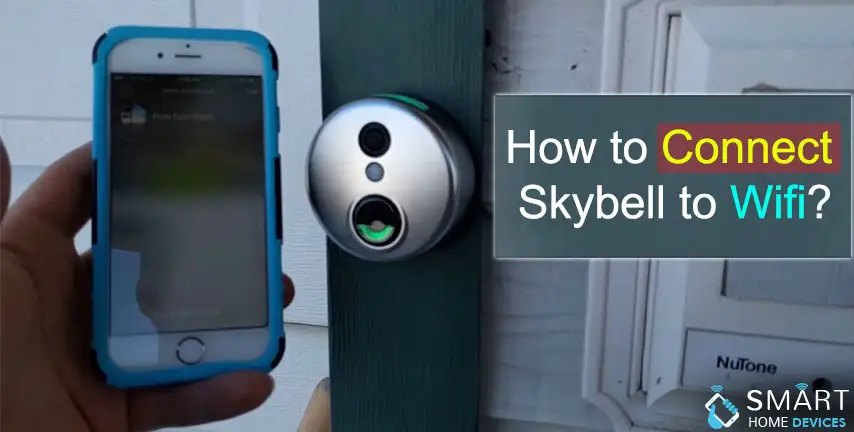
How to Connect Skybell to Wi-Fi?

The Best SkyBell HD Doorbell Camera Review 2026
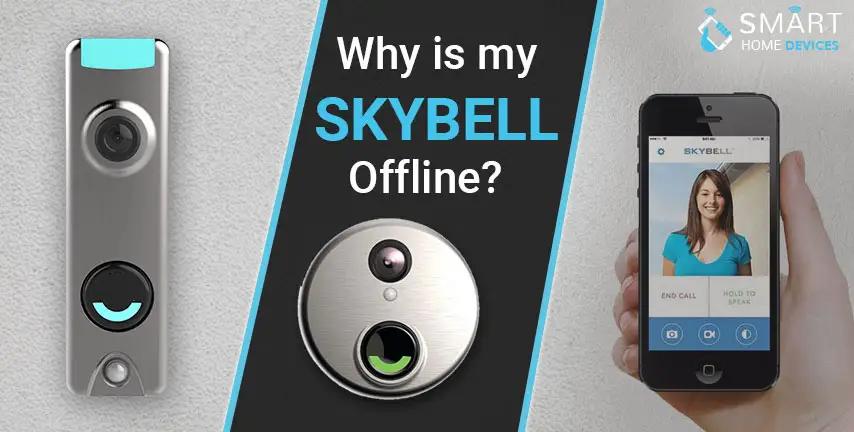
Why is My Skybell Doorbell Offline?
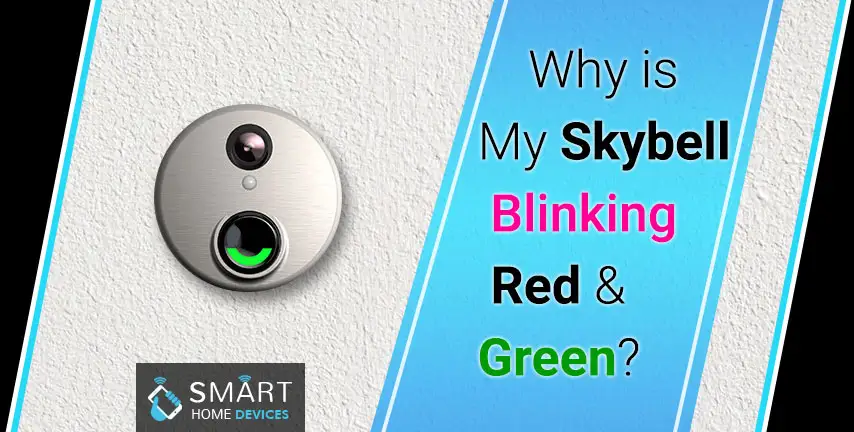
Why is My Skybell Blinking Red and Green?
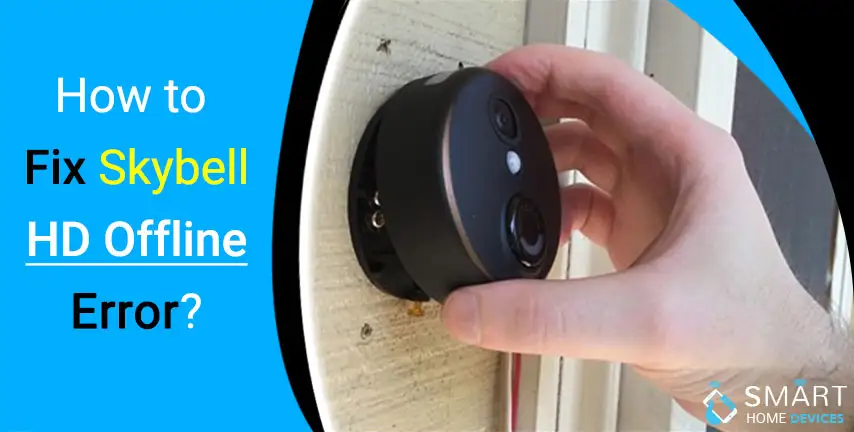
How to Fix Skybell HD Offline Error?
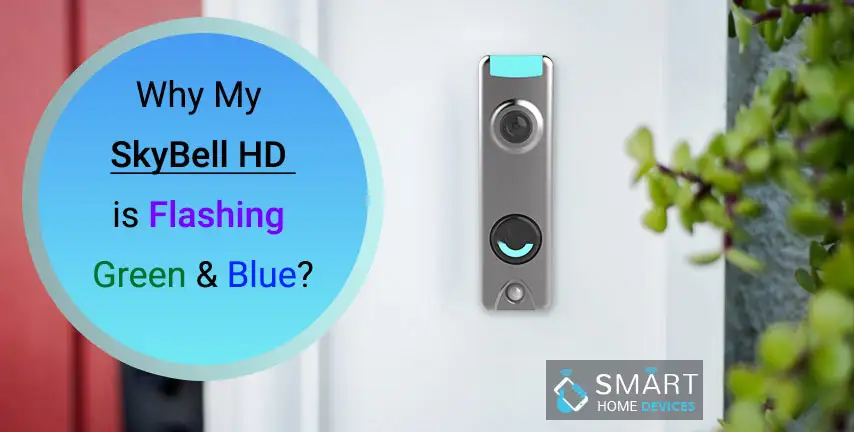
My SkyBell HD is Flashing Green and Blue?
© 2026 SmartDevicesHelp.com. All Rights Reserved.
Top Searches in skybell doorbell