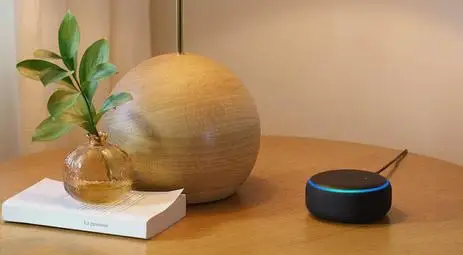
If you want to learn how to set up set up Echo Dot 3rd generation speaker, then you have landed on the right page as here we are available with the steps that can help you do so.
The setup process is quite simple and gets completed within minutes. This is even easy for those who don’t know much about smart home devices.
Step 1: First of all download the Alexa app on your Android or iOS smartphone.

Step 2: Choose the devices by going to the bottom right corner.
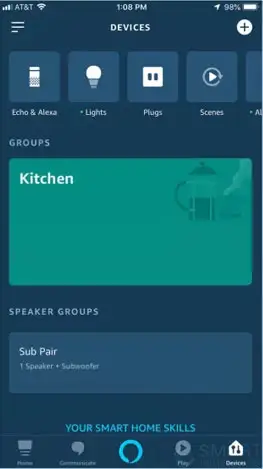
Step 3: Tap on the + sign that is given on the upper right side of the screen. You can also tap on the three horizontal lines given at the top left corner.
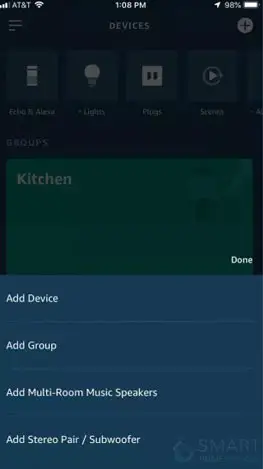
Step 4: Now, in the next step. Click on the Add device.
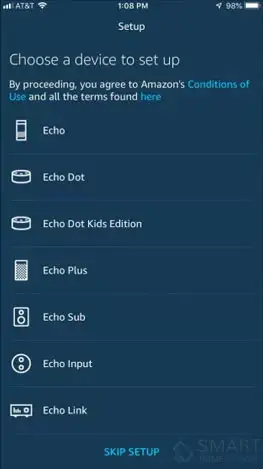
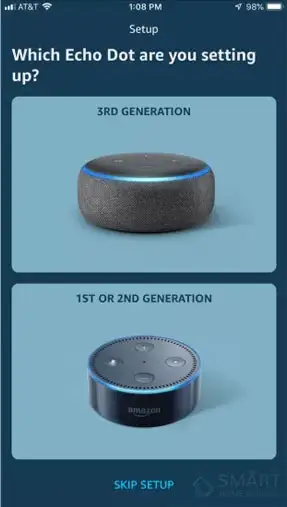
Step 5: After that, press the icon of Amazon Echo after the Echo Dot icon that shows up on the screen that. Then, tap on the image of the third-generation Echo Dot.
Step 6: Connect your Echo Dot to the power source using the power adapter that came along with it. Your device will go into the setup mode when the blue ring light will turn orange.

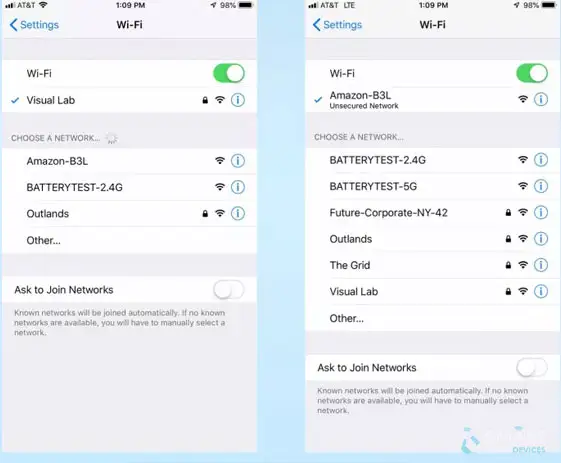
Step 7: After that, wait for a few minutes for the Echo Dot icon to appear on your smartphone’s screen. After that, you will be asked to go and check the wireless network settings.
Once you reach there, select the network known as Amazon XXX. After that, go back to the Alexa app.
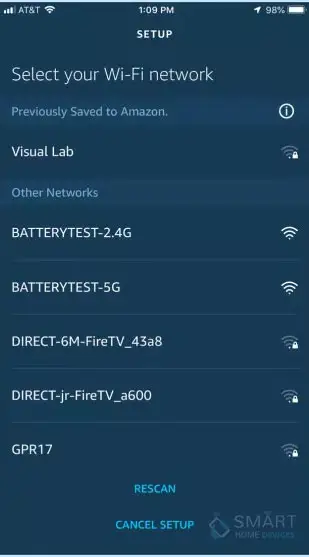
Step 8: Select the Echo Dot wireless network that you want to connect your Echo Dot too. After that, enter the password if you need to.
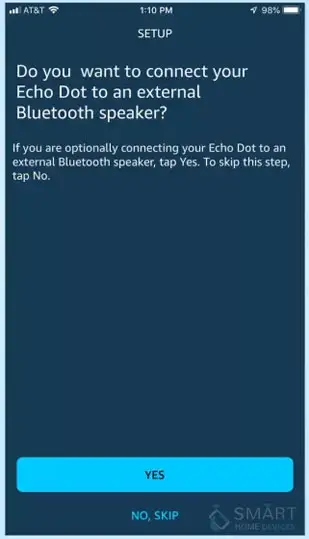
Step 9: Choose the external speaker that your Echo Dot speaker device will use. In case, you don't wish to connect is to an external speaker, then leave this step.
So, these are the steps that you need to follow in order to set up Echo Dot 3rd Generation.
 Related Blogs
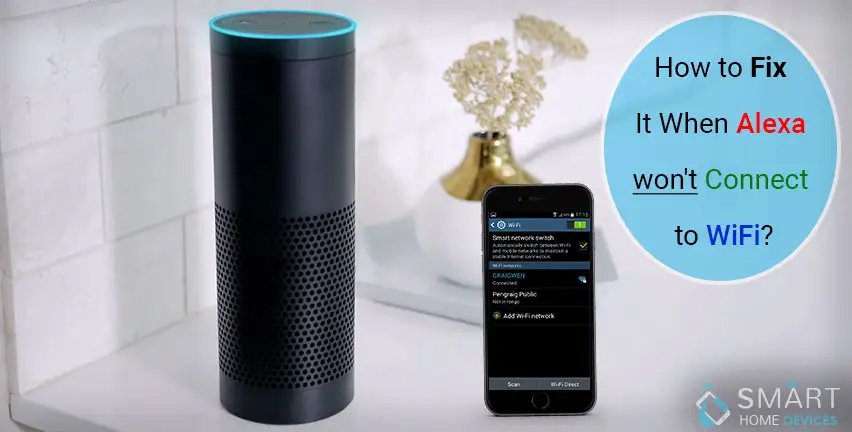
How to Fix it When Alexa Won't Connect to WiFi ?

Why is Alexa Not Responding to Voice Commands?
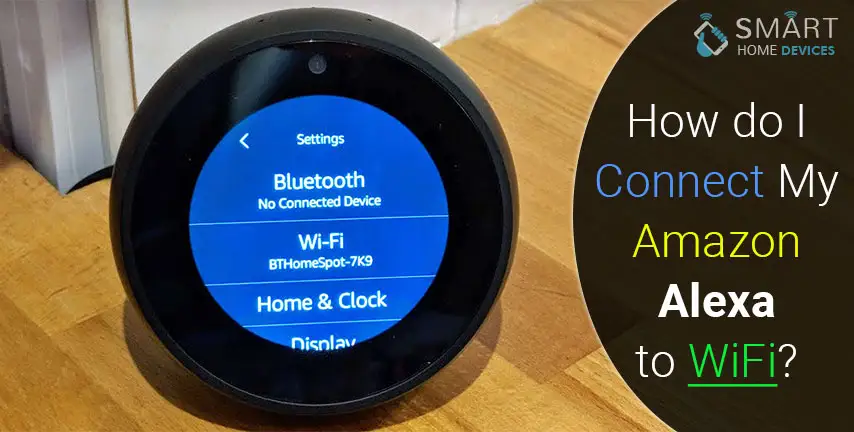
How do I Connect My Amazon Alexa to WiFi?
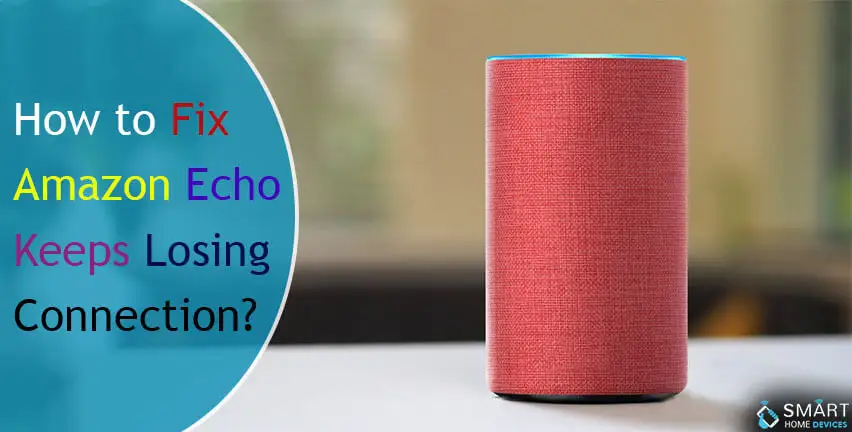
How to Fix Amazon Echo Keeps Losing Connection?
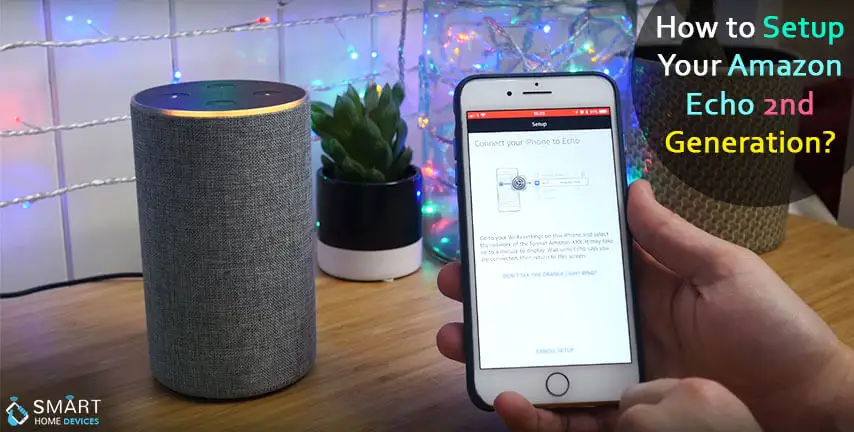
How to Set Up Your Amazon Echo 2nd Generation?
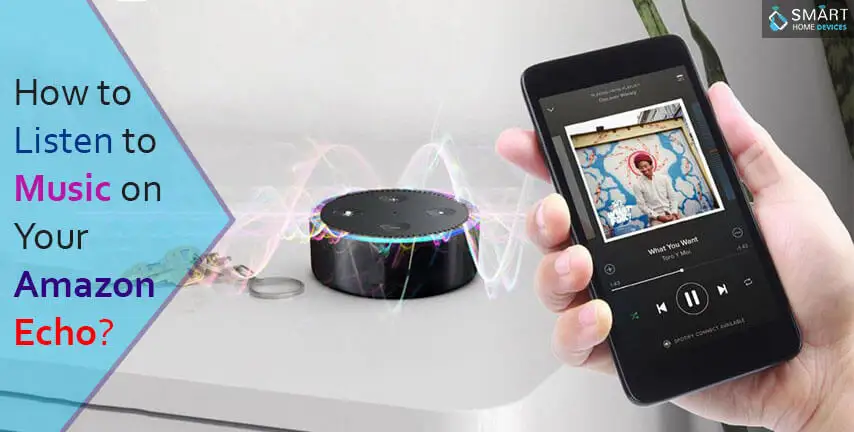
How to Listen to Music on Your Amazon Echo?

How to Connect Alexa to Your Computer?
© 2026 SmartDevicesHelp.com. All Rights Reserved.
Top Searches in amazon alexa